
These homemade Funfetti Sandwich Cookies are made with soft, buttery sugar cookies filled with colourful sprinkles and sandwiched together with a smooth, creamy cream cheese frosting. They're a fun variation of classic sugar cookies, with a tender texture, a hint of vanilla, and just the right amount of sweetness.
The cookie dough is rolled out and chilled before baking, helping the cookies maintain their round shape and making them easier to assemble into sandwiches. The cream cheese frosting adds a slightly tangy flavour that balances the sweetness of the cookies and sprinkles.
I'm making these for a bake sale at my sons' school, along with my Chocolate Chip M&M Cookie Bars. I wanted something colourful that would stand out on the bake sale table, and these sprinkle-filled sandwich cookies are a great option. They're easy to portion, can be prepared ahead of time, and look lovely packaged individually.
Why You'll Love These Funfetti Sandwich Cookies
Soft, buttery sugar cookies: A homemade vanilla sugar cookie base with colourful sprinkles throughout.
Cream cheese frosting: A smooth, creamy filling with a slight tang that complements the sweet cookies.
Perfect for special occasions: Great for birthday parties, celebrations, school bake sales, or an everyday treat.
Make-ahead friendly: The cookie dough can be refrigerated overnight, making it easier to plan ahead.
Easy to customize: Use different sprinkle colours for holidays, birthdays, or themed events.
No special piping equipment required: A zip-top bag or even a spoon works well for adding the frosting.

Recipe Details
Prep Time: Approximately 30–40 minutes
Chilling Time: At least 2 hours, or overnight
Bake Time: 8–12 minutes per batch
Cooling Time: Until completely cooled
Assembly Time: Approximately 15–20 minutes
Total Time: Approximately 3–4 hours, depending on the number of baking batches and cooling time
Yield: Approximately 32–34 individual cookies, or 16–17 sandwich cookies
Cookie Cutter Size: 2-inch round
Oven Temperature: 350°F (175°C)
Equipment Needed
Stand mixer or hand mixer
Large mixing bowls
Measuring cups and spoons
Rolling pin
2-inch round biscuit or cookie cutter
Baking sheets
Parchment paper
Plastic wrap or additional parchment paper for rolling the dough
Cooling rack
Piping bag with piping tip, or a zip-top bag with one corner snipped off
Ingredients
Funfetti Sugar Cookies
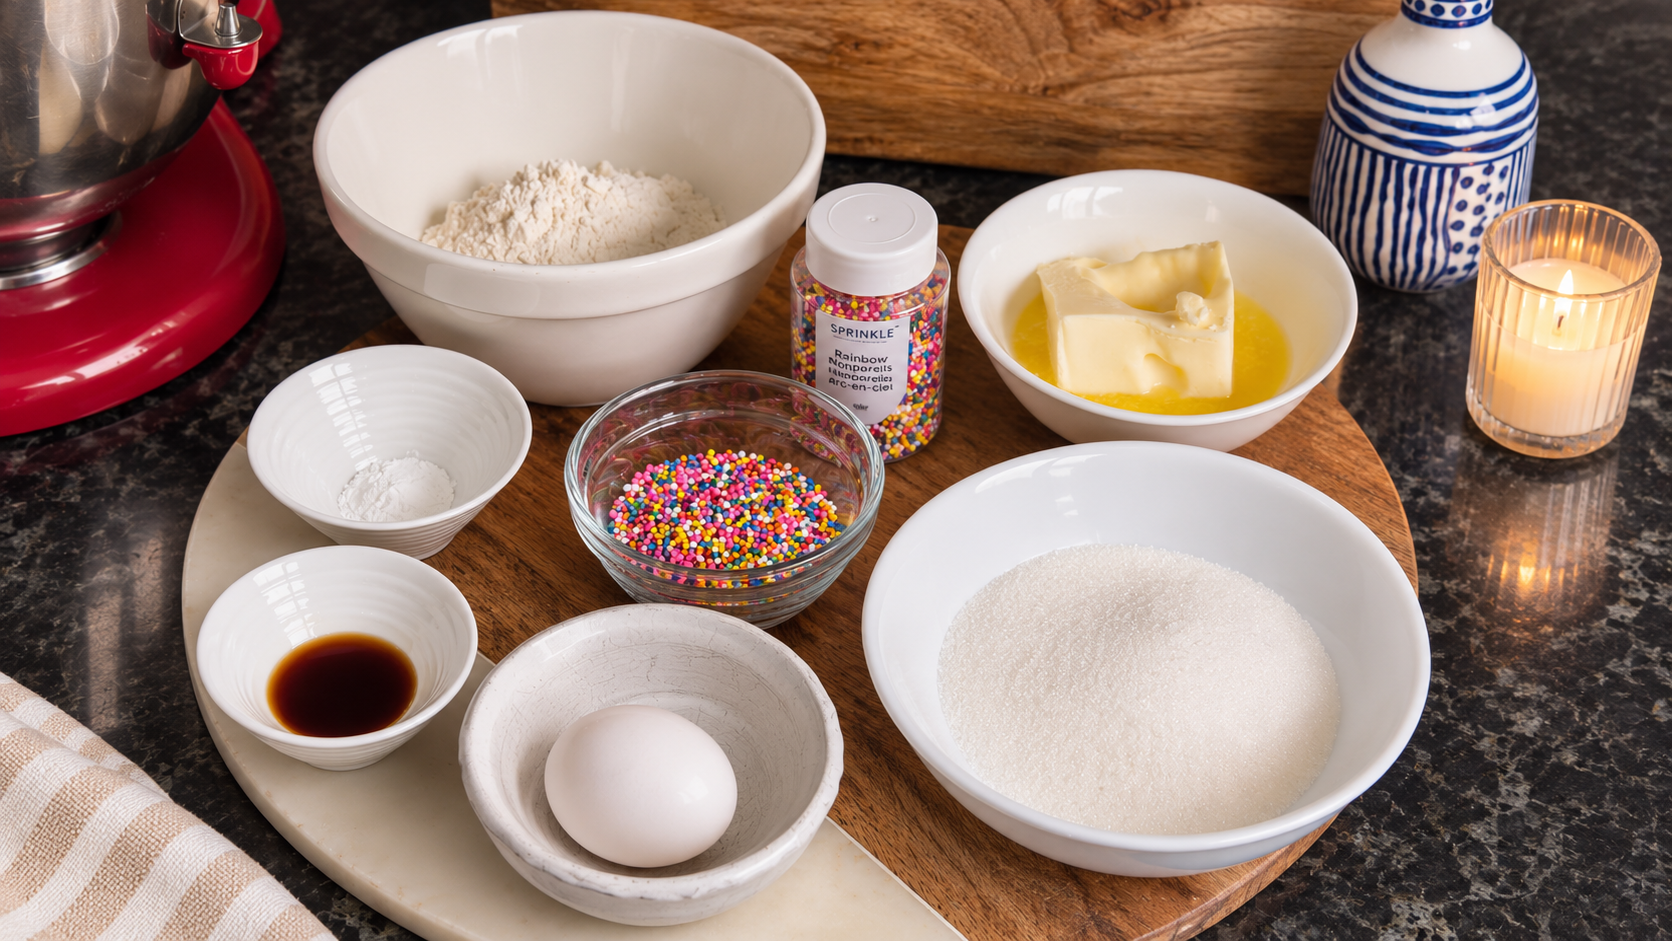
1¾ cups all-purpose flour
¼ teaspoon baking powder
¼ teaspoon salt (omit if using salted butter)
¾ cup unsalted butter, softened
½ cup granulated sugar
1 teaspoon vanilla extract
1 large egg
⅓ cup colourful sprinkles
Cream Cheese Frosting
½ cup unsalted butter, softened
½ cup cream cheese, softened
1 teaspoon vanilla extract
½ teaspoon salt (omit if using salted butter)
2 cups powdered sugar, sifted if lumpy
1–2 tablespoons milk, only if needed to adjust the consistency
How to Make Funfetti Sandwich Cookies
Step 1: Combine the Dry Ingredients
In a medium mixing bowl, whisk together the all-purpose flour, baking powder, and salt.
Set aside while you prepare the wet ingredients.
Step 2: Cream the Butter and Sugar
In a large mixing bowl, using a stand mixer fitted with the paddle attachment or a hand mixer, beat the softened butter and granulated sugar until smooth, light, and creamy.
Scrape down the sides of the bowl as needed to ensure everything is evenly combined.
Step 3: Add the Egg and Vanilla
Add the egg and vanilla extract to the butter mixture.
Beat until fully incorporated, scraping down the sides of the bowl as needed.
Step 4: Add the Dry Ingredients
Gradually add the flour mixture to the wet ingredients, mixing on low speed until a soft cookie dough forms.
Mix only until the flour is incorporated. Avoid overmixing, as this can make the cookies tough.
Step 5: Fold in the Sprinkles
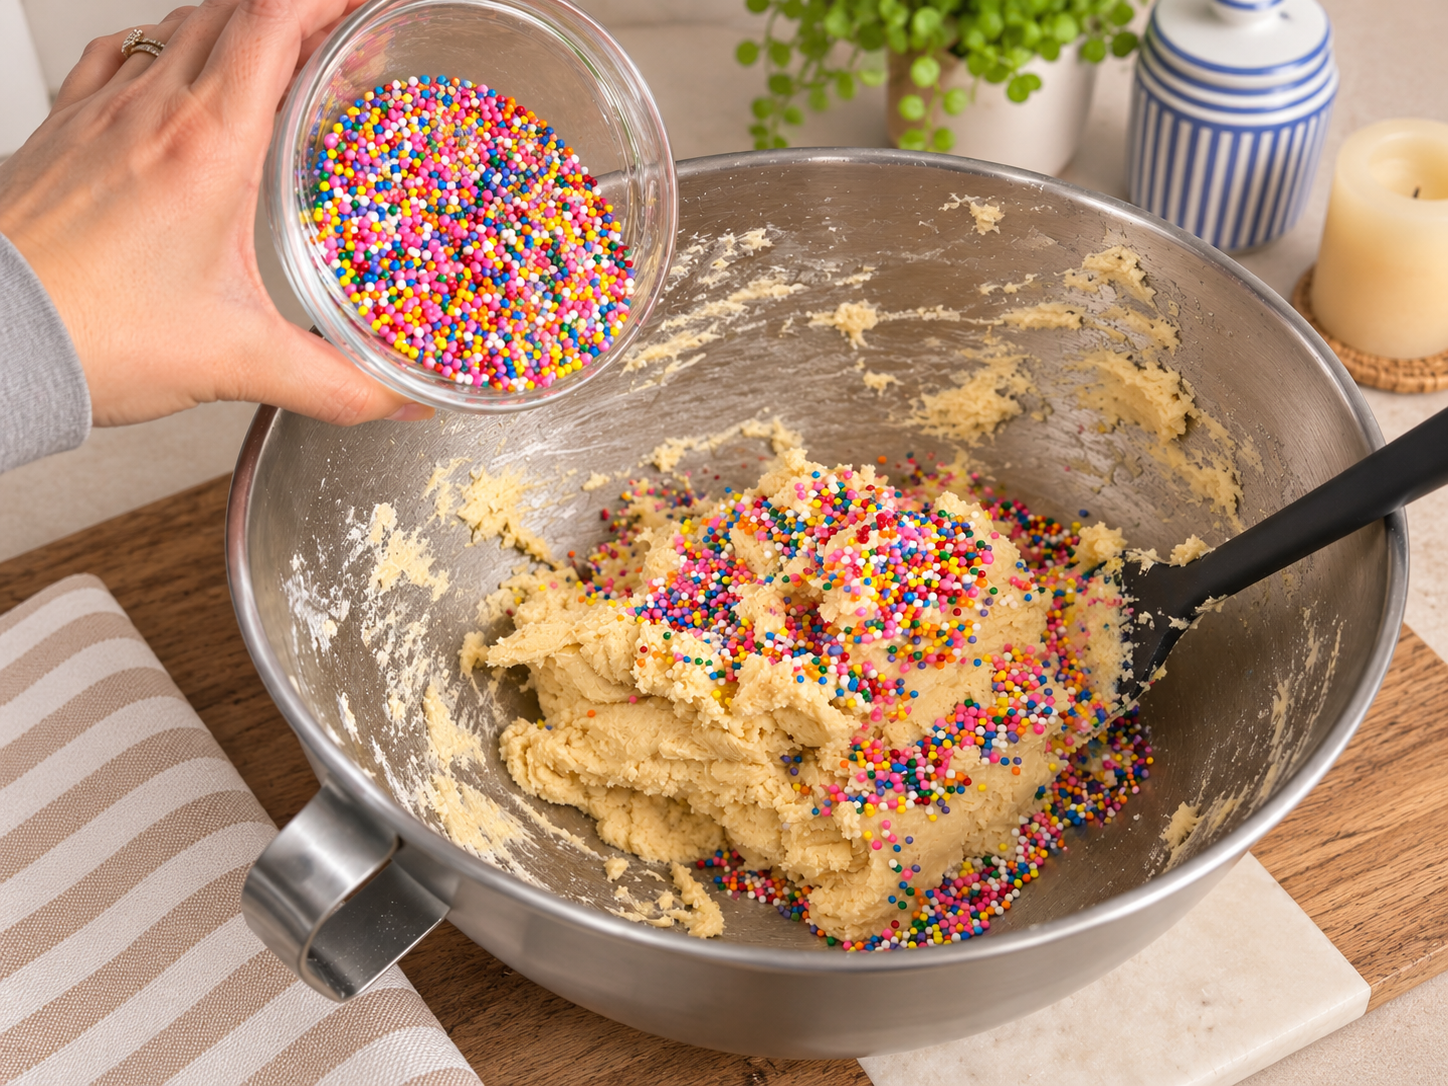
Add the colourful sprinkles and gently fold them into the cookie dough using a spatula until evenly distributed.
Be careful not to overmix, as some sprinkles can release their colour into the dough.
Step 6: Roll Out the Dough
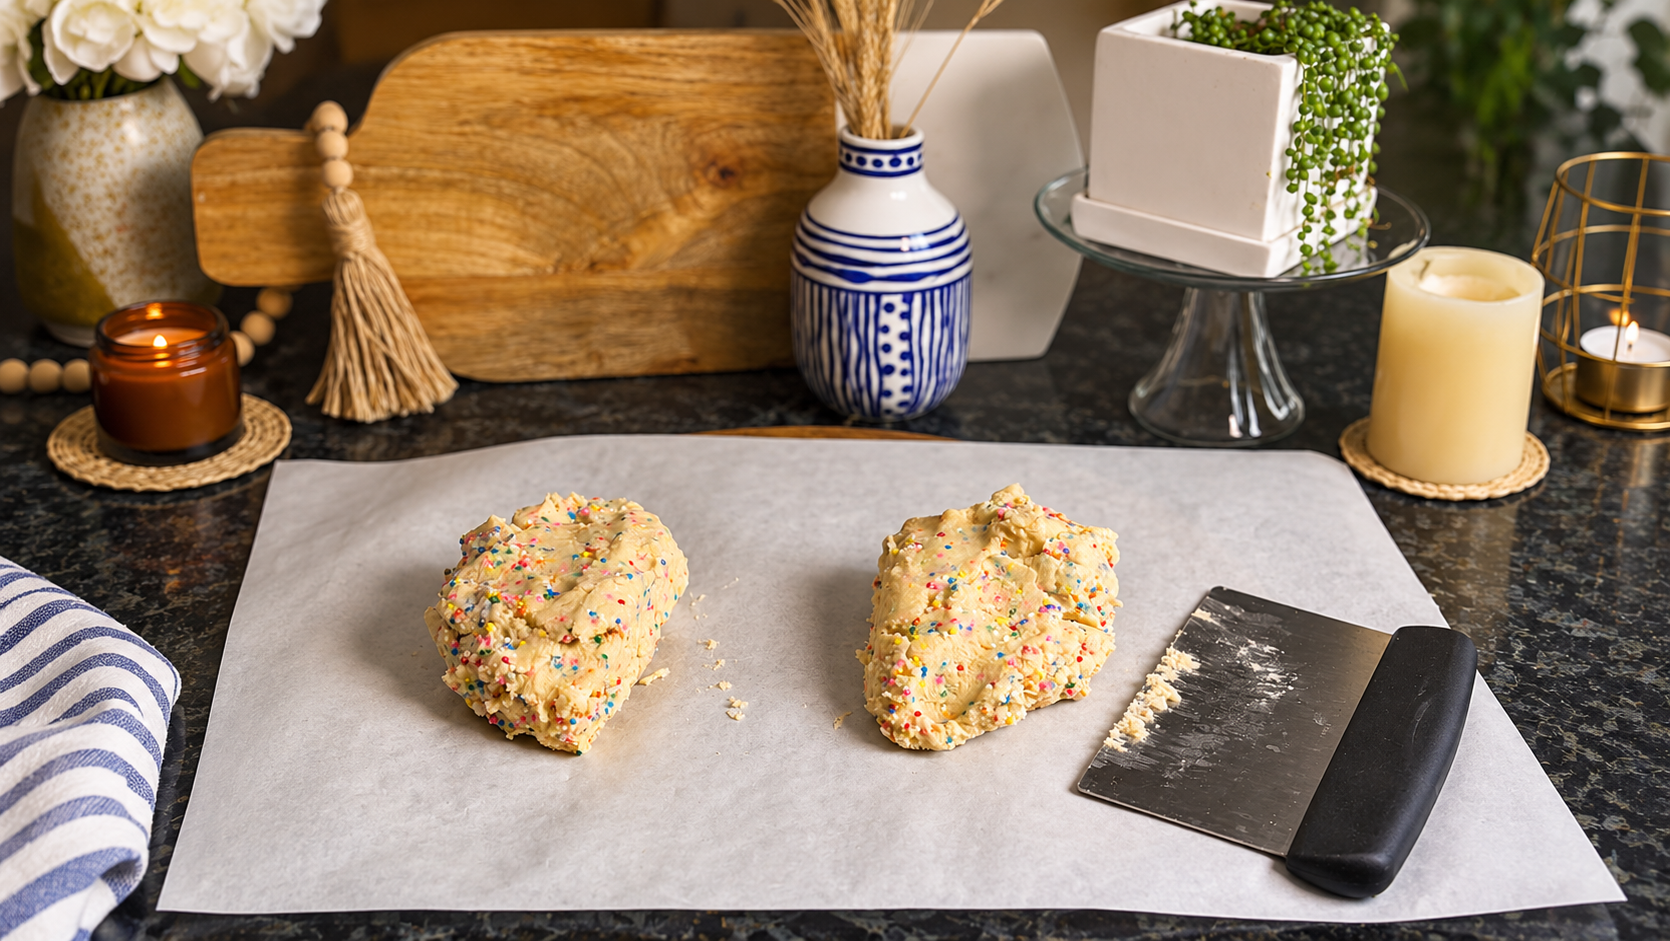
Divide the cookie dough into two equal portions.
Place each portion between two sheets of parchment paper or plastic wrap.
Using a rolling pin, roll each portion to approximately ¼-inch thickness.
Rolling the dough before chilling makes it easier to cut into even circles once firm.
Step 7: Chill the Dough
Transfer the rolled dough, still between the sheets of parchment paper or plastic wrap, to the refrigerator.
Chill for at least 2 hours or up to overnight.
This step helps the butter firm up, making the dough easier to cut and helping the cookies hold their shape during baking.
Step 8: Preheat the Oven
When you're ready to bake, preheat the oven to 350°F (175°C).
Line baking sheets with parchment paper.
Step 9: Cut Out the Cookies
Remove one portion of chilled dough from the refrigerator.
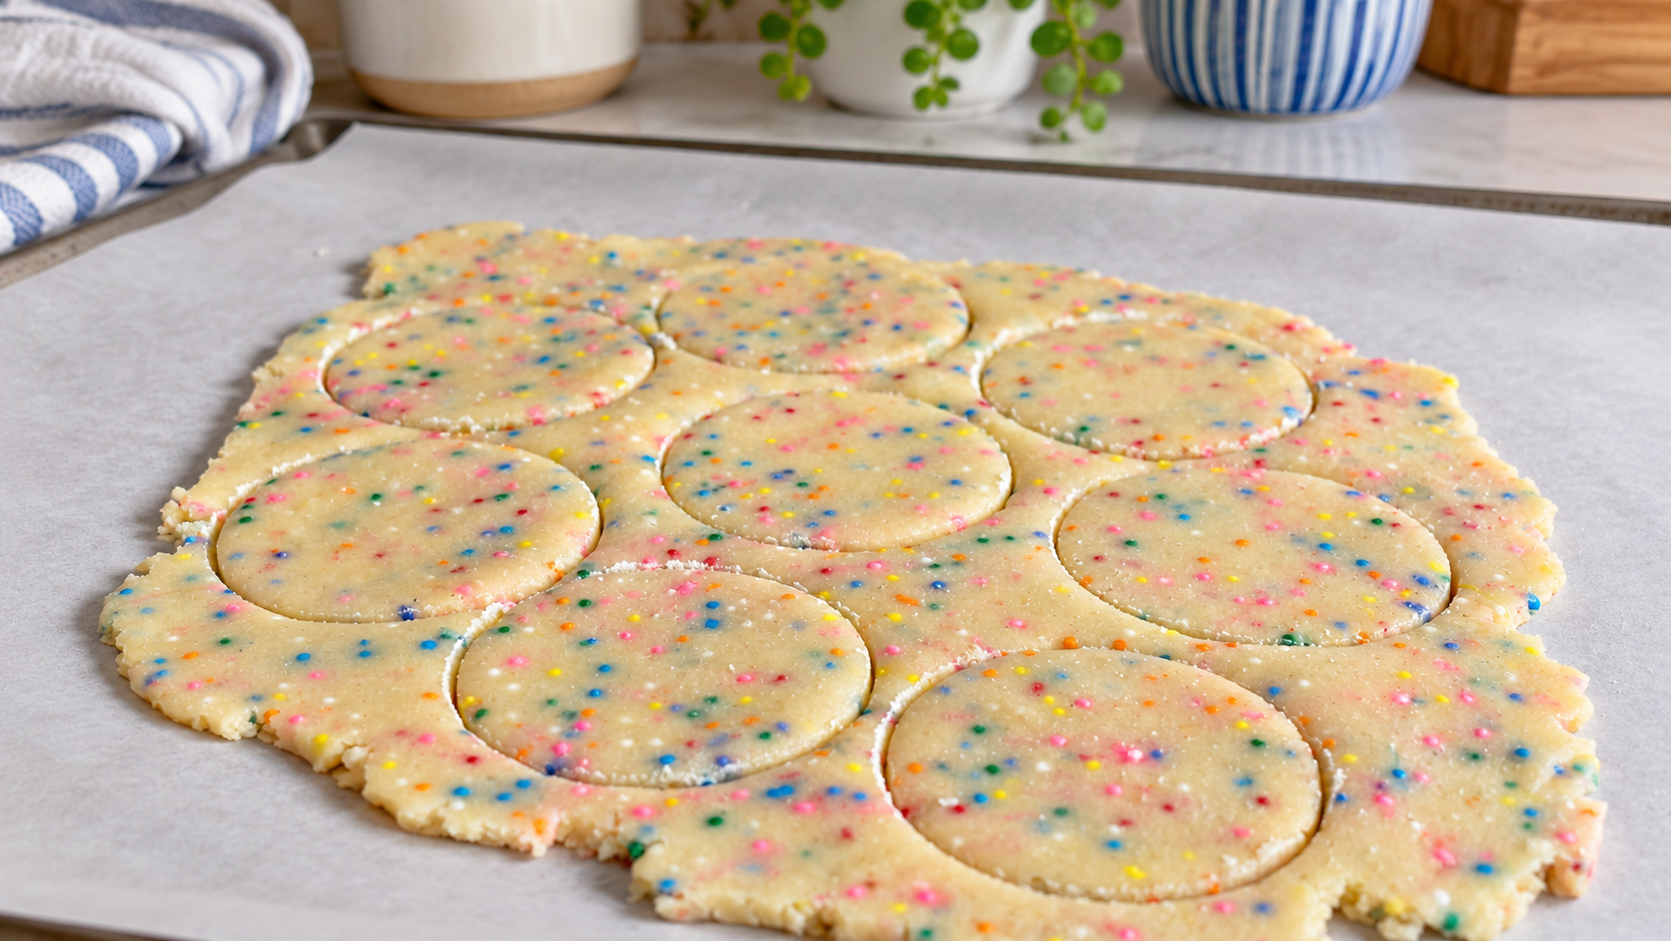
Lightly dip a 2-inch round cookie cutter into flour, then press it into the dough to cut out circles.
Transfer the cut cookies to the prepared baking sheets, spacing them approximately 2 inches apart.
Gather the remaining dough scraps, gently bring them together, and roll them out again to the same ¼-inch thickness.
Continue cutting circles until the dough has been used.
Repeat with the second portion of dough.
Step 10: Keep the Dough Chilled
If the dough becomes too soft or sticky while cutting and transferring the cookies, place it in the freezer for approximately 10 minutes to firm up before continuing.
Keeping the dough chilled helps prevent excessive spreading during baking.
Step 11: Bake the Cookies
Bake at 350°F (175°C) for approximately 8–12 minutes, or until the edges are just beginning to turn a light golden brown.
The centres should appear set but should not become deeply browned.
Baking time will vary slightly depending on the thickness and size of your cookies.

Step 12: Cool Completely
Allow the cookies to rest on the baking sheets for a few minutes before transferring them to a wire cooling rack.
Let them cool completely before adding the cream cheese frosting.
Frosting warm cookies can cause the filling to soften or melt, making the sandwiches difficult to assemble.
How to Make the Cream Cheese Frosting
Step 1: Beat the Butter and Cream Cheese
In a large mixing bowl, beat the softened butter and cream cheese together using a hand mixer or stand mixer until smooth and creamy.
For the best results, both ingredients should be softened but not melted.
Step 2: Add the Vanilla and Salt
Add the vanilla extract and salt, if using.
Mix until combined.
Step 3: Add the Powdered Sugar
Gradually add the powdered sugar, mixing on low speed until incorporated.
Increase the mixer speed and beat until the frosting is smooth, light, and creamy.
Step 4: Adjust the Consistency
If the frosting is too thick to pipe or spread easily, add milk a little at a time, starting with 1 teaspoon.
Continue mixing until the frosting reaches your desired consistency.
You may not need any milk.
For sandwich cookies, the frosting should be thick enough to hold its shape between the cookies without running out of the sides.
Step 5: Transfer to a Piping Bag
Transfer the frosting to a piping bag fitted with your preferred piping tip.
If you don't have a piping bag, use a zip-top bag with a small corner snipped off.
Alternatively, you can simply spoon the frosting onto the cookies and spread it with a small spatula or butter knife.
How to Assemble the Funfetti Sandwich Cookies
Arrange half of the cooled cookies upside down on a clean work surface.
Pipe or spoon your desired amount of cream cheese frosting onto the flat bottom of each cookie.
Place a second cookie on top, with its flat bottom facing the frosting.
Gently press the cookies together until the filling spreads evenly toward the edges.
Repeat with the remaining cookies and frosting.
If the frosting is particularly soft, refrigerate the assembled cookies briefly to help the filling firm up before packaging or serving.
For a neat finish, try to pair cookies of similar size and thickness.
Tips for the Best Funfetti Sandwich Cookies
Use Softened Butter
The butter should be soft enough to cream easily with the sugar but should not be melted or greasy.
Properly softened butter helps create a smooth dough and contributes to the cookies' tender texture.
Roll the Dough Before Chilling
Rolling the dough between sheets of parchment paper or plastic wrap before refrigerating makes the process easier.
Once chilled, the dough is firm enough to cut clean circles without needing to work with a large, solid ball of cold dough.
Don't Skip the Chilling Time
Chilling is an important step for cut-out sugar cookies.
It firms up the butter, makes the dough easier to handle, and helps the cookies maintain their shape during baking.
If the dough softens while you're working with it, return it to the refrigerator or freezer briefly before continuing.
Use the Right Sprinkles
For the best results, use jimmies, the longer, rod-shaped sprinkles commonly used in funfetti baking.
They generally hold their colour better in cookie dough than very small round nonpareils, which can bleed into the dough when mixed.
Keep the Cookies Evenly Sized
Using the same cookie cutter and rolling the dough to an even thickness helps the cookies bake consistently.
It also makes assembling the sandwiches easier because the tops and bottoms will be similar in size.
Avoid Overbaking
For soft sugar cookies, remove them from the oven when the edges are just beginning to turn golden.
Overbaking can make the cookies too firm or dry, particularly once they have cooled.
Use Thick Cream Cheese Frosting
For sandwich cookies, a thicker frosting works best.
Avoid adding too much milk, as a thin frosting can squeeze out when the cookies are pressed together.
If the frosting becomes too soft, refrigerate it briefly before assembling.
Let the Cookies Cool Completely
Make sure the cookies are fully cooled before adding the filling.
Even slightly warm cookies can soften the cream cheese frosting and make the sandwiches difficult to handle.
Ingredient Substitutions and Variations
Salted Butter Instead of Unsalted Butter
Salted butter can be used in both the cookies and the frosting.
If using salted butter, omit the additional salt listed in the corresponding recipe component.
Keep in mind that the amount of salt in salted butter varies between brands.
Different Sprinkle Colours
One of the easiest ways to customize these cookies is by changing the sprinkle colours.
Use pastel sprinkles for spring celebrations, red and green for Christmas, or school colours for a special event.
The cookie dough and frosting can remain the same.
Vanilla Buttercream Instead of Cream Cheese Frosting
If you prefer a sweeter filling without the tang of cream cheese, vanilla buttercream is another option.
A buttercream filling is also worth considering for events where refrigerated storage may be difficult, although its storage requirements depend on the ingredients and recipe used.
Add a Little Almond Extract
For a subtle bakery-style flavour, replace a small portion of the vanilla extract with almond extract.
Start with approximately ⅛–¼ teaspoon, as almond extract has a stronger flavour than vanilla.
Add Sprinkles to the Frosting Edges
For an extra colourful finish, gently roll the exposed frosting edges of the assembled sandwich cookies in additional sprinkles.
This is an optional decoration that works particularly well for birthday parties and special occasions.
Use a Different Cookie Cutter Size
You can make smaller or larger sandwich cookies depending on the occasion.
Smaller cutters will produce more cookies and may require a shorter baking time, while larger cutters will yield fewer sandwiches and may need slightly lo