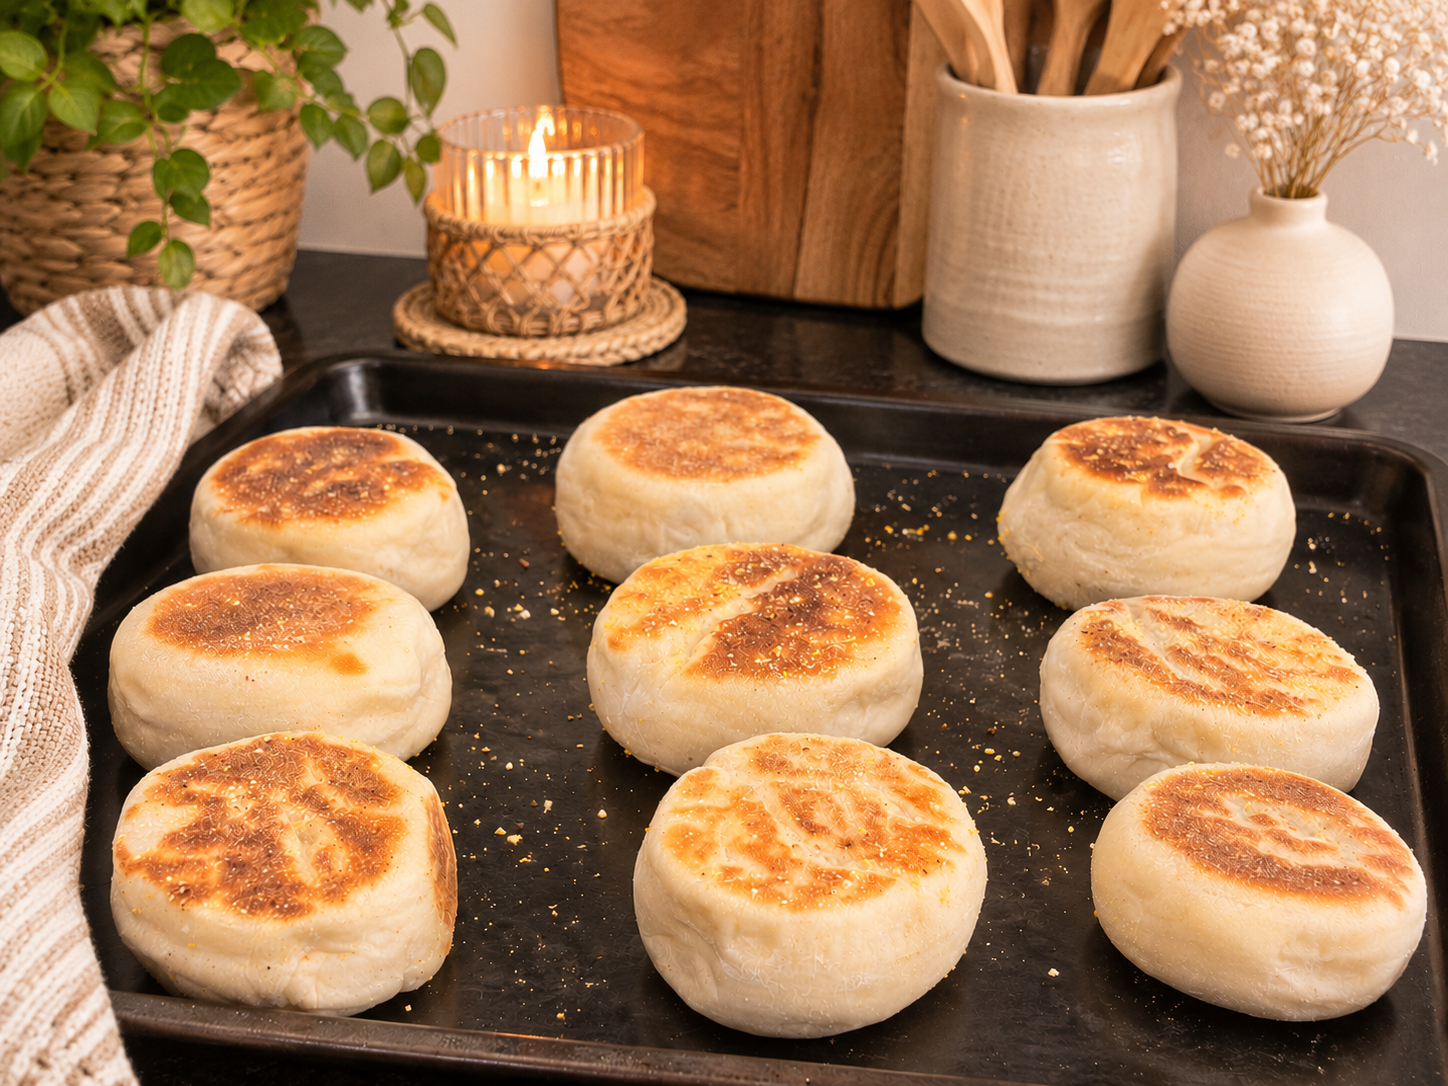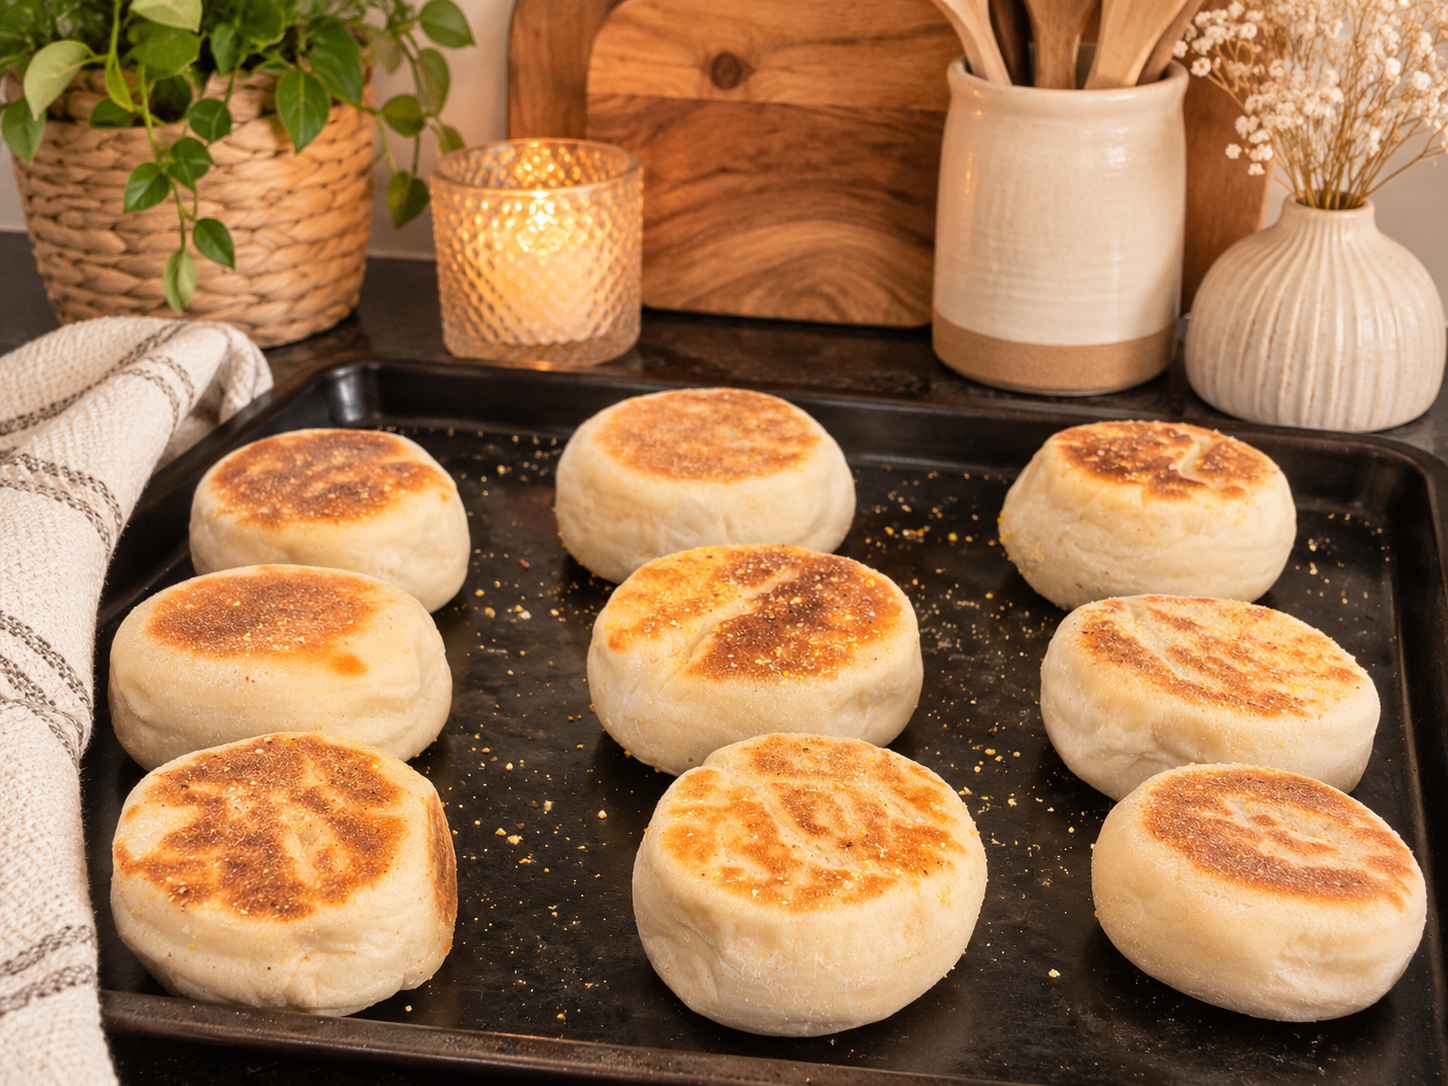
Soft, fluffy homemade English muffins with golden, lightly crisp exteriors and delicious nooks and crannies. Made from scratch with simple pantry ingredients and cooked right on the stovetop!
There's something so satisfying about making your own English muffins from scratch. They're soft and fluffy on the inside, beautifully golden on the outside, and perfect for toasting with a little butter.
The best part? You don't even need to turn on your oven!
These homemade English muffins are made with a simple yeast dough using just a handful of everyday ingredients. After two rises, they're cooked in a lightly oiled skillet until golden on both sides.
They're perfect for breakfast sandwiches, eggs Benedict, or simply toasted with butter and your favourite jam. Once you've tried homemade English muffins, you'll want to make them again and again!
Why You'll Love These Homemade English Muffins
Made with simple ingredients: Just a few pantry staples are all you need.
No oven required: These English muffins cook right on the stovetop.
Soft and fluffy: A tender interior with a lightly crisp, golden exterior.
Perfect for meal prep: Make a batch ahead of time and enjoy them throughout the week.
Versatile: Delicious toasted, made into breakfast sandwiches, or served with butter and jam.
Homemade English Muffins Recipe
Prep Time: 20 minutes
First Rise: 1 hour
Second Rise: 30 minutes
Cook Time: 10–14 minutes per batch
Total Time: Approximately 2 hours 15 minutes, depending on batch size
Course: Breakfast, Bread
Method: Stovetop
Yield: Approximately 6–8 English muffins, depending on cutter size
Ingredients
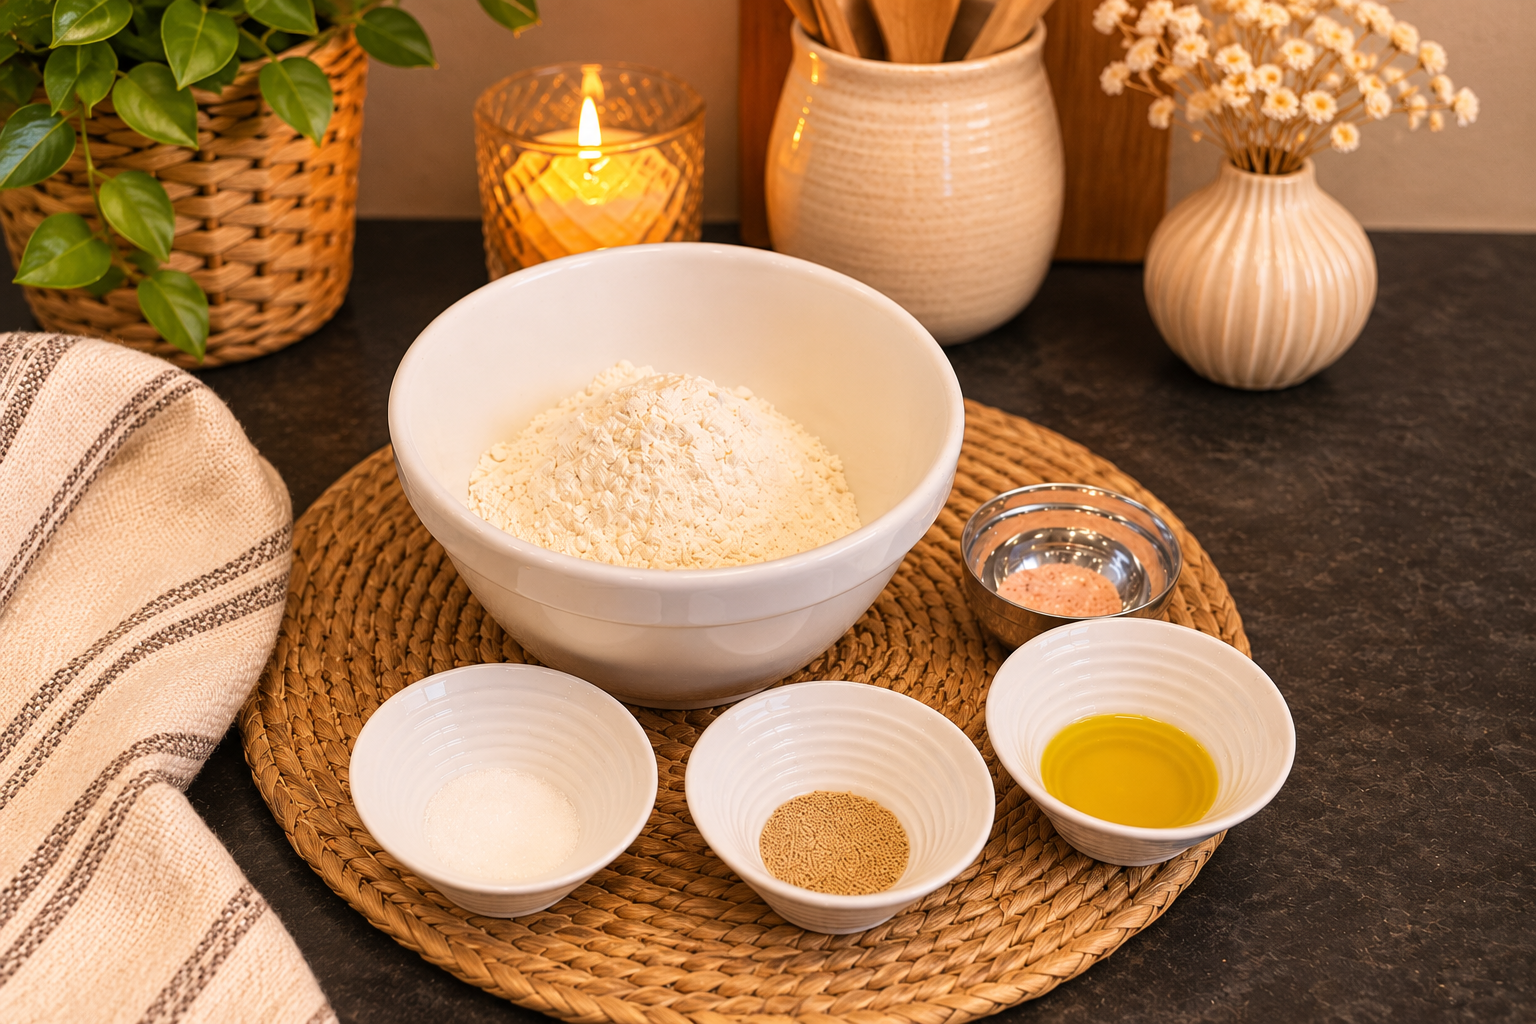
1 cup warm water (approximately 105–110°F / 40–43°C)
½ tablespoon granulated sugar
½ tablespoon active dry yeast
2½ cups all-purpose flour, plus extra for dusting
1 teaspoon salt
1 tablespoon olive oil
Cornmeal, for dusting
Additional olive oil, for greasing the bowl and skillet
Instructions
1. Activate the Yeast
In a small bowl or measuring cup, combine the warm water, sugar, and active dry yeast.
Stir gently and allow the mixture to sit for approximately 5–10 minutes, until the yeast becomes foamy and bubbly.
This step helps ensure the yeast is active before adding it to the flour.
2. Prepare the Dough
In the bowl of a stand mixer or a large mixing bowl, combine the all-purpose flour and salt.
Pour in the activated yeast mixture and add the olive oil.
Mix until a shaggy dough begins to form.
3. Knead the Dough
Using a stand mixer: Attach the dough hook and knead on low speed for approximately 5 minutes, until the dough becomes smooth and elastic.
Kneading by hand: Transfer the dough to a lightly floured surface and knead for approximately 10 minutes, until smooth and elastic.
The dough should feel soft and slightly tacky but manageable. Avoid adding too much extra flour, as this can make the English muffins dense.
4. First Rise
Shape the kneaded dough into a smooth ball.
Lightly grease a large mixing bowl with olive oil. Place the dough into the bowl and turn it a few times to coat the surface lightly with oil.
Cover the bowl with plastic wrap or a clean kitchen towel.
Place it somewhere warm and allow the dough to rise for approximately 1 hour, or until doubled in size.
5. Roll and Cut the Dough
Once the dough has risen, gently punch it down to release the air.
Transfer it to a lightly floured work surface and roll it out to approximately ½ inch thick.
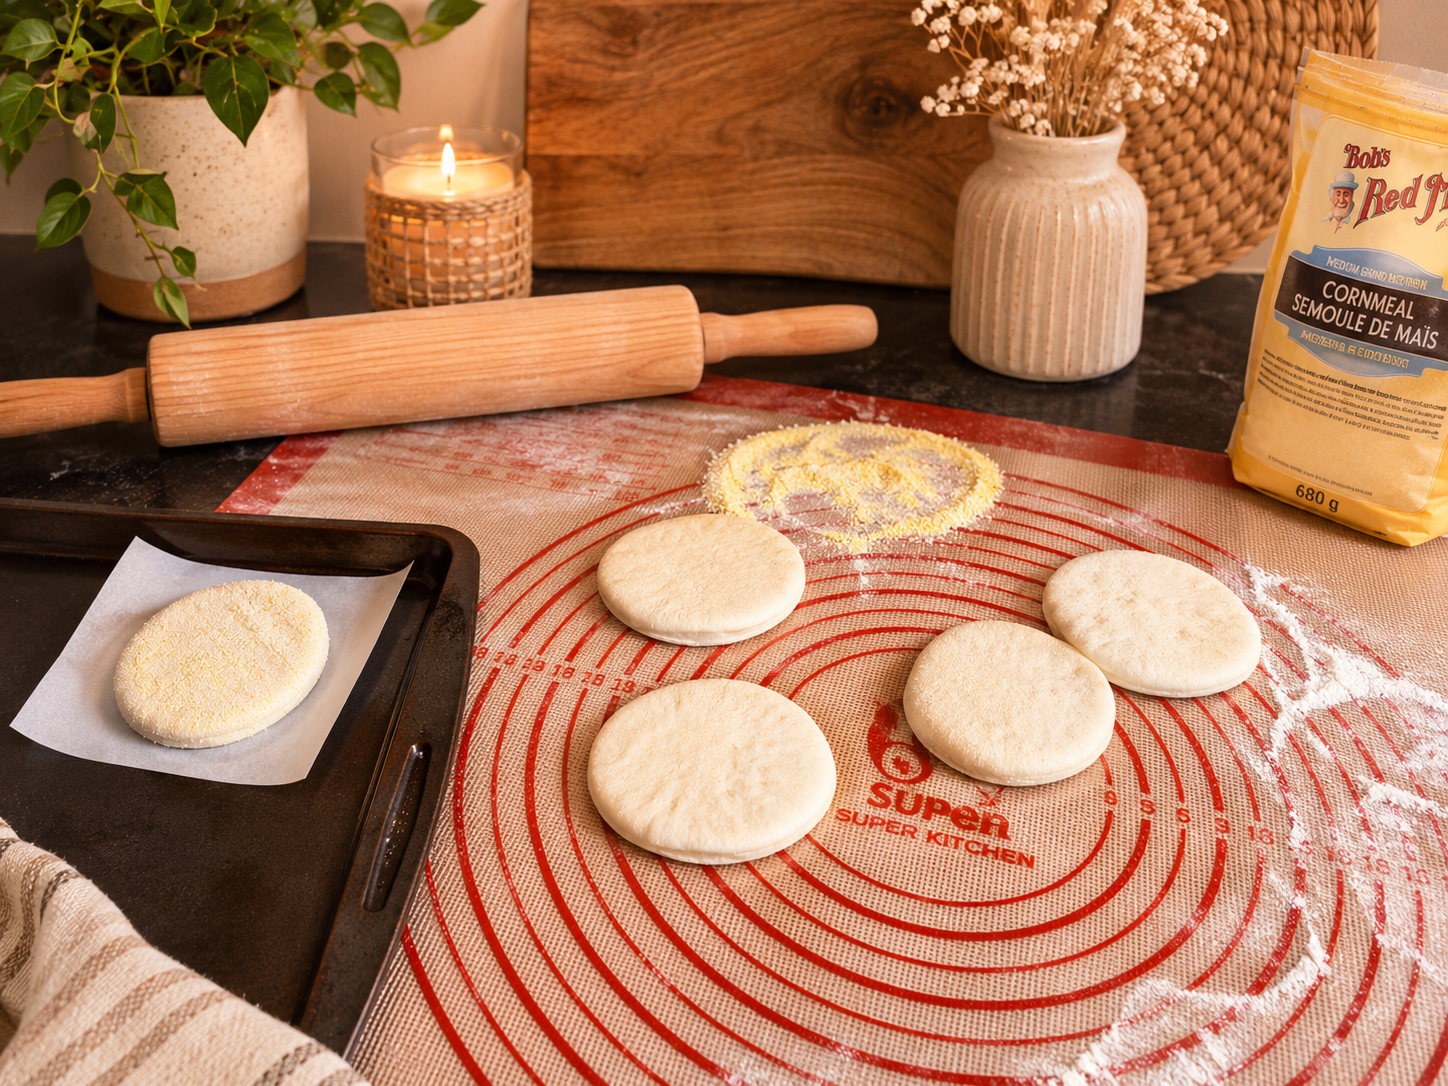
Using a round biscuit cutter or the rim of a glass, cut the dough into circles.
Gather any remaining scraps, gently bring them together, and cut additional rounds as needed.
6. Dust with Cornmeal
Lightly sprinkle cornmeal onto a baking sheet or clean work surface.
Place the English muffin rounds onto the cornmeal and sprinkle a little more over the tops, ensuring both sides are lightly coated.
The cornmeal helps prevent sticking and gives homemade English muffins their classic texture.
7. Second Rise
Cover the English muffin rounds loosely with a clean kitchen towel.
Allow them to rise somewhere warm for approximately 30 minutes, until slightly puffed.
8. Cook the English Muffins
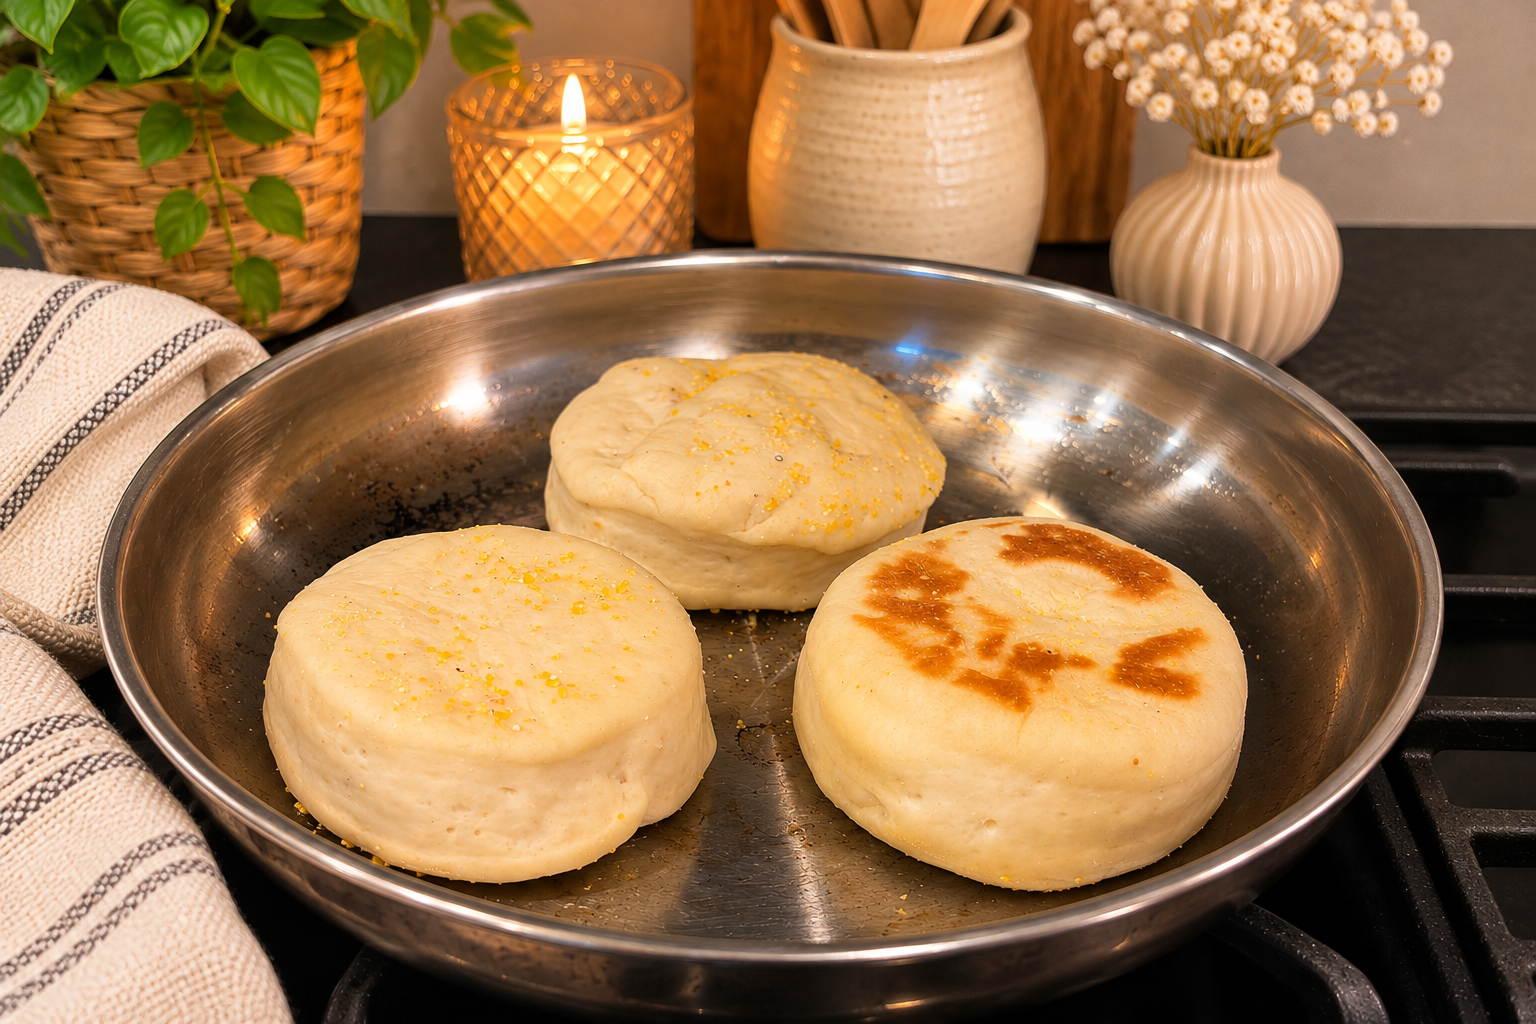
Heat a large skillet or frying pan over medium heat and lightly grease it with olive oil.
Carefully transfer the English muffins into the skillet, leaving enough space between each one.
Cook for approximately 5–7 minutes per side, until golden brown.
Adjust the heat to medium-low if the muffins are browning too quickly. The centres need enough time to cook through without the outsides burning.
For best results, check that the centres reach approximately 200°F (93°C).
9. Cool and Serve
Transfer the cooked English muffins to a wire rack and allow them to cool slightly.
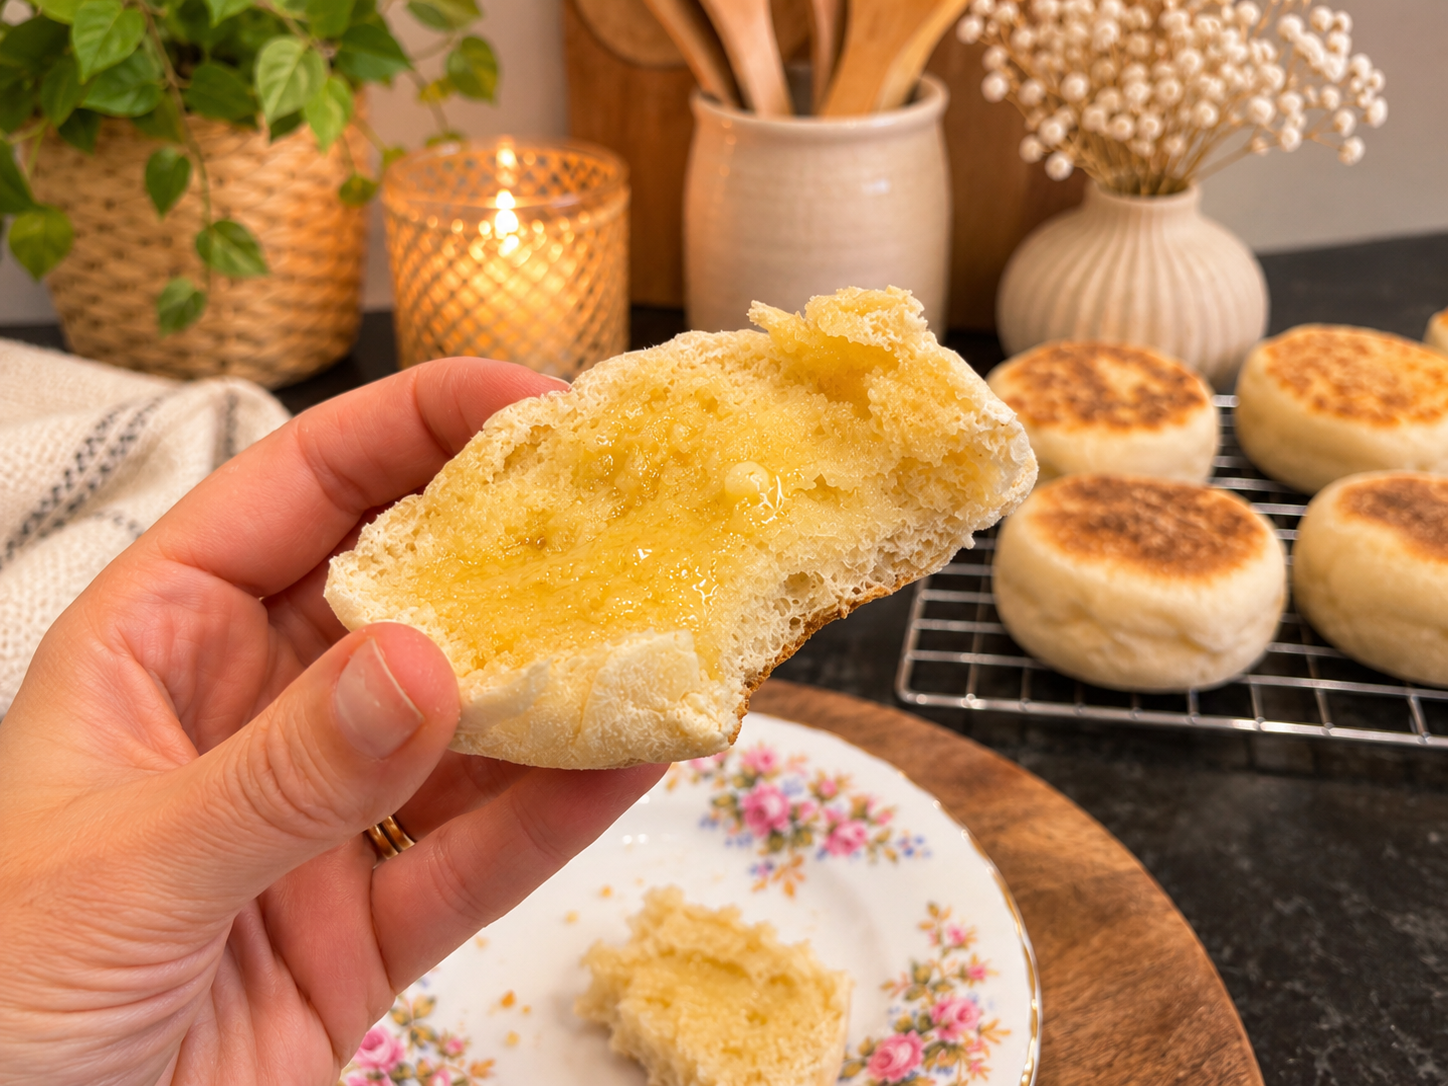
For that classic English muffin texture, use a fork to gently split each muffin around the edges rather than slicing it with a knife.
Toast until golden and serve with butter, jam, honey, or your favourite breakfast toppings.
Enjoy!
Tips for Making the Best Homemade English Muffins
Make Sure Your Water Isn't Too Hot
When activating the yeast, use warm water rather than hot water. Water that's too hot can damage the yeast and prevent the dough from rising properly.
A temperature of approximately 105–110°F is ideal for active dry yeast.
Knead Until Smooth and Elastic
Proper kneading helps develop the gluten in the dough, giving your English muffins their soft, chewy texture.
Whether you're using a stand mixer or kneading by hand, the dough should become smooth and elastic.
Give the Dough Enough Time to Rise
Both rising stages are important.
The first rise helps develop the dough's structure and flavour, while the second rise gives the English muffins a lighter, fluffier texture.
If your kitchen is cool, the dough may need a little extra time to rise.
Don't Roll the Dough Too Thin
Rolling the dough to approximately ½ inch thick helps create English muffins that puff up nicely during their second rise and while cooking.
Keep the Heat Moderate
English muffins are thicker than pancakes, so they need time to cook all the way through.
If your skillet is too hot, the outsides may brown before the centres are fully cooked.
Start with medium heat and lower it as needed to ensure even cooking.
Use Cornmeal for That Classic Finish
A light dusting of cornmeal on both sides gives English muffins their traditional appearance and slightly textured exterior.
You don't need a heavy coating—just enough to prevent sticking.
Split with a Fork
One of my favourite tricks is to split homemade English muffins using a fork instead of a knife.
Simply poke the fork around the sides of the muffin and gently pull it apart.
This helps preserve those little nooks and crannies that are perfect for catching melted butter.
Ways to Enjoy Homemade English Muffins
These homemade English muffins are delicious in so many ways!
Classic breakfast: Toast and spread with butter, jam, or honey.
Breakfast sandwiches: Add eggs, cheese, and bacon or sausage.
Eggs Benedict: Use as the base for poached eggs and hollandaise sauce.
English muffin pizzas: Top with pizza sauce, mozzarella, and your favourite toppings.
Sweet breakfast treat: Spread with peanut butter and sliced bananas.
Avocado toast: Top with mashed avocado, salt, pepper, and a fried egg.
How to Store Homemade English Muffins
Room Temperature
Once completely cooled, store the English muffins in an airtight container or resealable bag at room temperature for up to 2–3 days.
Freezing
Homemade English muffins freeze beautifully!
Allow them to cool completely, then place them in a freezer-safe bag or airtight container.
Freeze for up to 3 months for the best quality.
For convenience, split the muffins before freezing so they're ready to toast whenever you need them.
Reheating
For the best texture, split the English muffins and toast them until warm and golden.
Frozen English muffins can be thawed first or toasted directly from frozen, depending on your toaster.
Frequently Asked Questions
Can I Make English Muffins Without an Oven?
Absolutely! Traditional English muffins are cooked on a griddle or in a skillet rather than baked in the oven.
This recipe is made entirely on the stovetop.
Why Didn't My English Muffins Rise?
If your English muffins didn't rise properly, the yeast may have been inactive, the water may have been too hot, or the dough may not have had enough time to rise.
Always check that your yeast becomes foamy during the activation stage.
Why Are My English Muffins Doughy in the Middle?
This usually happens when the skillet is too hot.
The outside browns before the centre has enough time to cook.
Try reducing the heat and cooking the muffins a little longer. A thermometer is helpful for checking that the centres are fully cooked.
Can I Make the Dough Ahead of Time?
Yes! You can prepare the dough and allow it to rise in the refrigerator overnight instead of completing the first rise at room temperature.
Cover the dough well and refrigerate it. The following day, allow it to warm slightly if needed before rolling, cutting, and completing the second rise.
Can I Use Instant Yeast Instead of Active Dry Yeast?
Yes. Instant yeast can be substituted in the same amount.
Instant yeast doesn't require blooming, so you can mix it directly with the dry ingredients before adding the warm water and olive oil.
Do I Have to Use Cornmeal?
Cornmeal is traditional and gives English muffins their classic exterior texture, but you can use a light dusting of flour or fine semolina if needed.
Final Thoughts
Making homemade English muffins from scratch is easier than you might think, and the results are well worth the effort.
With their soft, fluffy centres and golden exteriors, these stovetop English muffins are perfect for everything from a simple toasted breakfast to homemade breakfast sandwiches.
They're made with basic ingredients, don't require an oven, and can easily be frozen for later.
There's nothing quite like a freshly toasted homemade English muffin with a little melted butter!