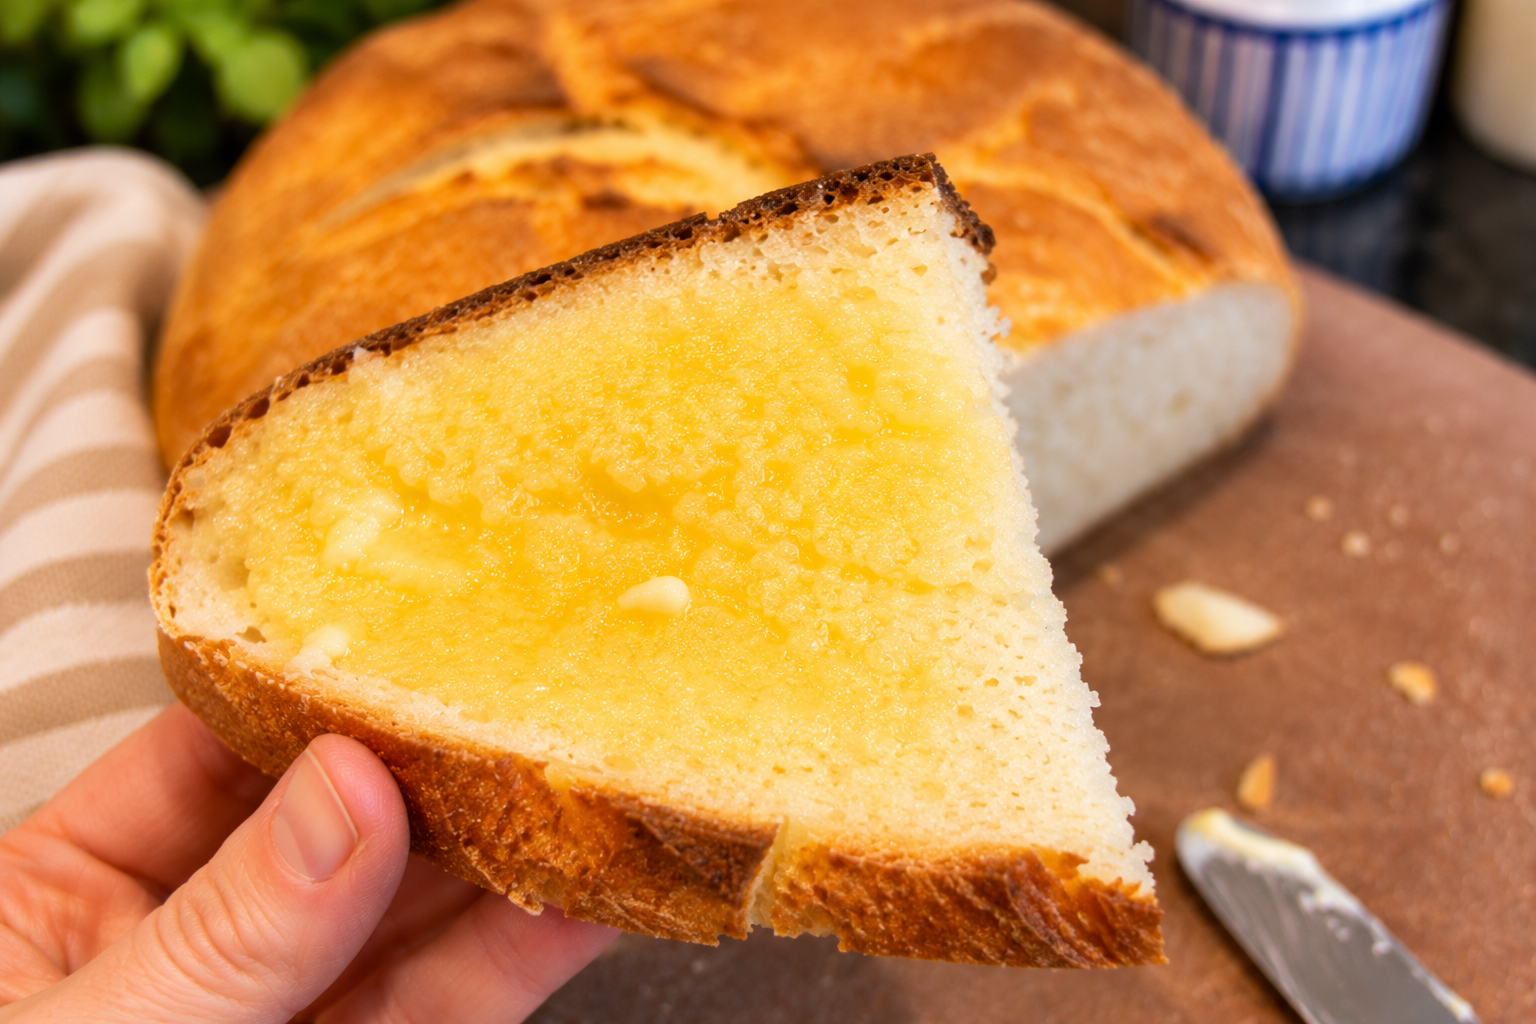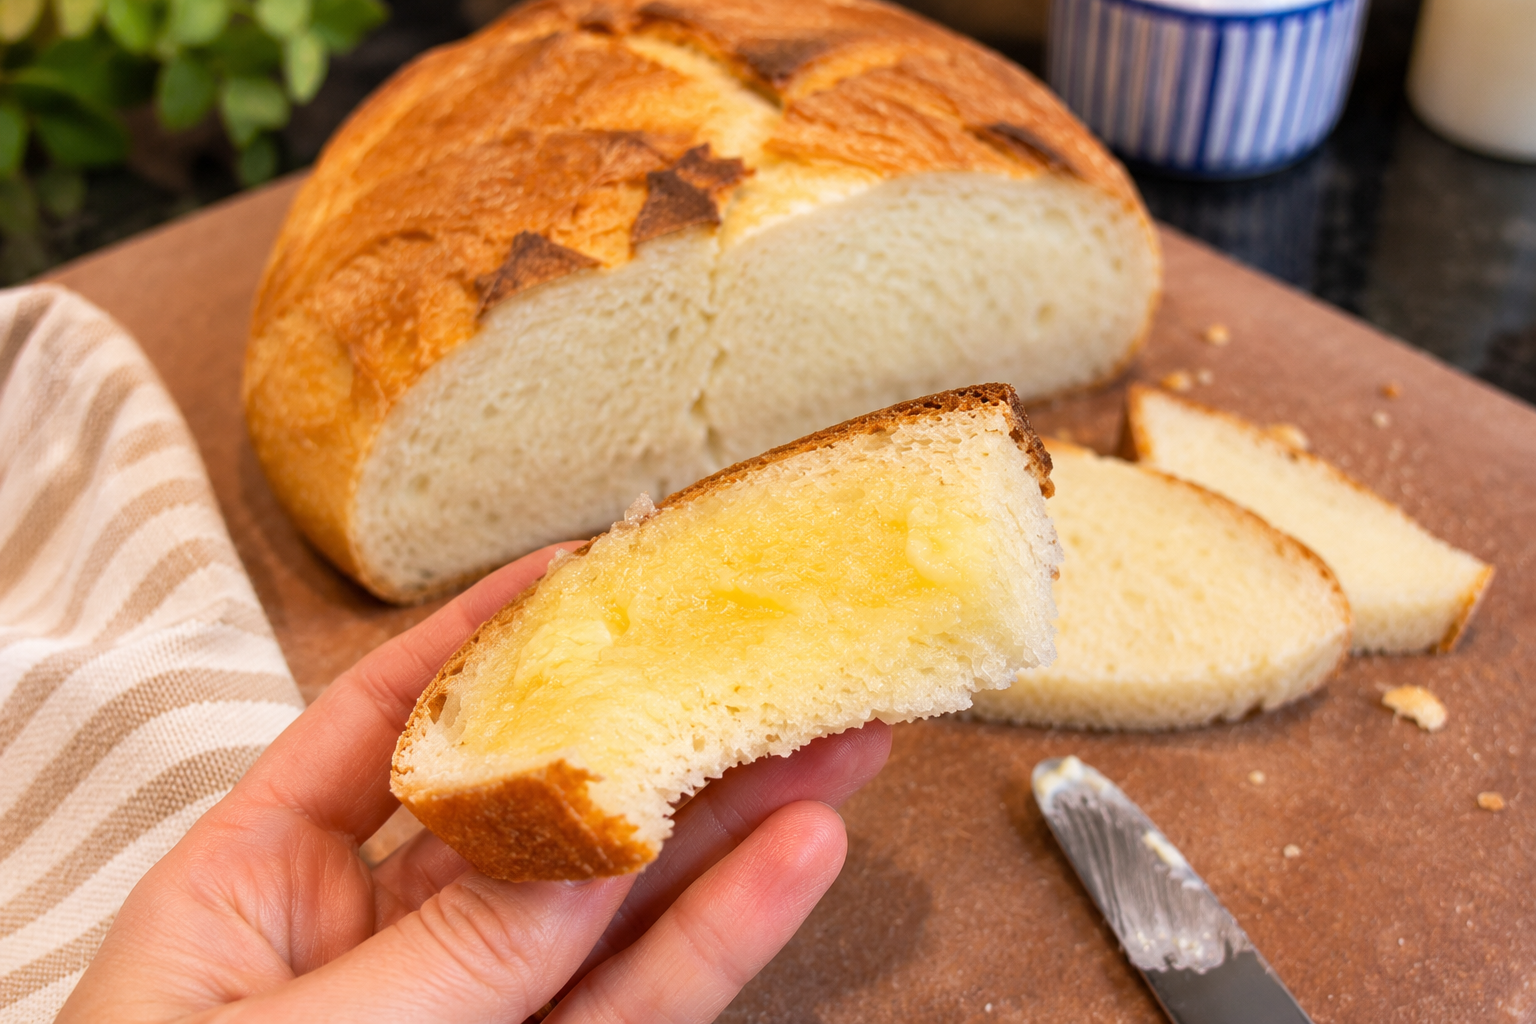
There is something especially satisfying about baking a loaf of homemade bread with a beautifully golden, crusty exterior and a soft, tender interior. This Easy Crusty Dutch Oven Bread with Honey is made with simple pantry ingredients and requires no stand mixer or complicated techniques.
A touch of honey adds a delicate sweetness, while baking the bread in a preheated Dutch oven helps create a crisp, rustic crust. The covered pot traps steam during the first part of baking, allowing the dough to expand before the crust develops its golden finish.
Whether you're new to bread baking or simply looking for an easy homemade loaf, this recipe is a wonderful addition to your baking routine. Serve it with butter, alongside a comforting bowl of soup, or use it for sandwiches and toast.
Why You'll Love This Recipe
Simple ingredients: Made with flour, water, yeast, honey, sugar, and salt.
No stand mixer required: The dough comes together easily using a spatula or your hands.
Beautiful rustic crust: Baking in a Dutch oven helps create a crisp, golden exterior.
Soft, tender interior: The dough produces a soft crumb with a subtle hint of sweetness.
Versatile: Delicious served with soups and stews, toasted for breakfast, or used for homemade sandwiches.
Easy to customize: Try different flours, sweeteners, or savoury herbs to create your own variation.
Recipe Details
Prep Time: 15–20 minutes
First Rise: Approximately 1–2 hours, or until doubled in size
Second Rise: Approximately 40 minutes
Bake Time: 25 minutes
Cooling Time: At least 30 minutes
Total Time: Approximately 2 hours 50 minutes to 3 hours 55 minutes, depending on rising conditions
Yield: 1 round loaf
Oven Temperature: 450°F (230°C)
Ingredients
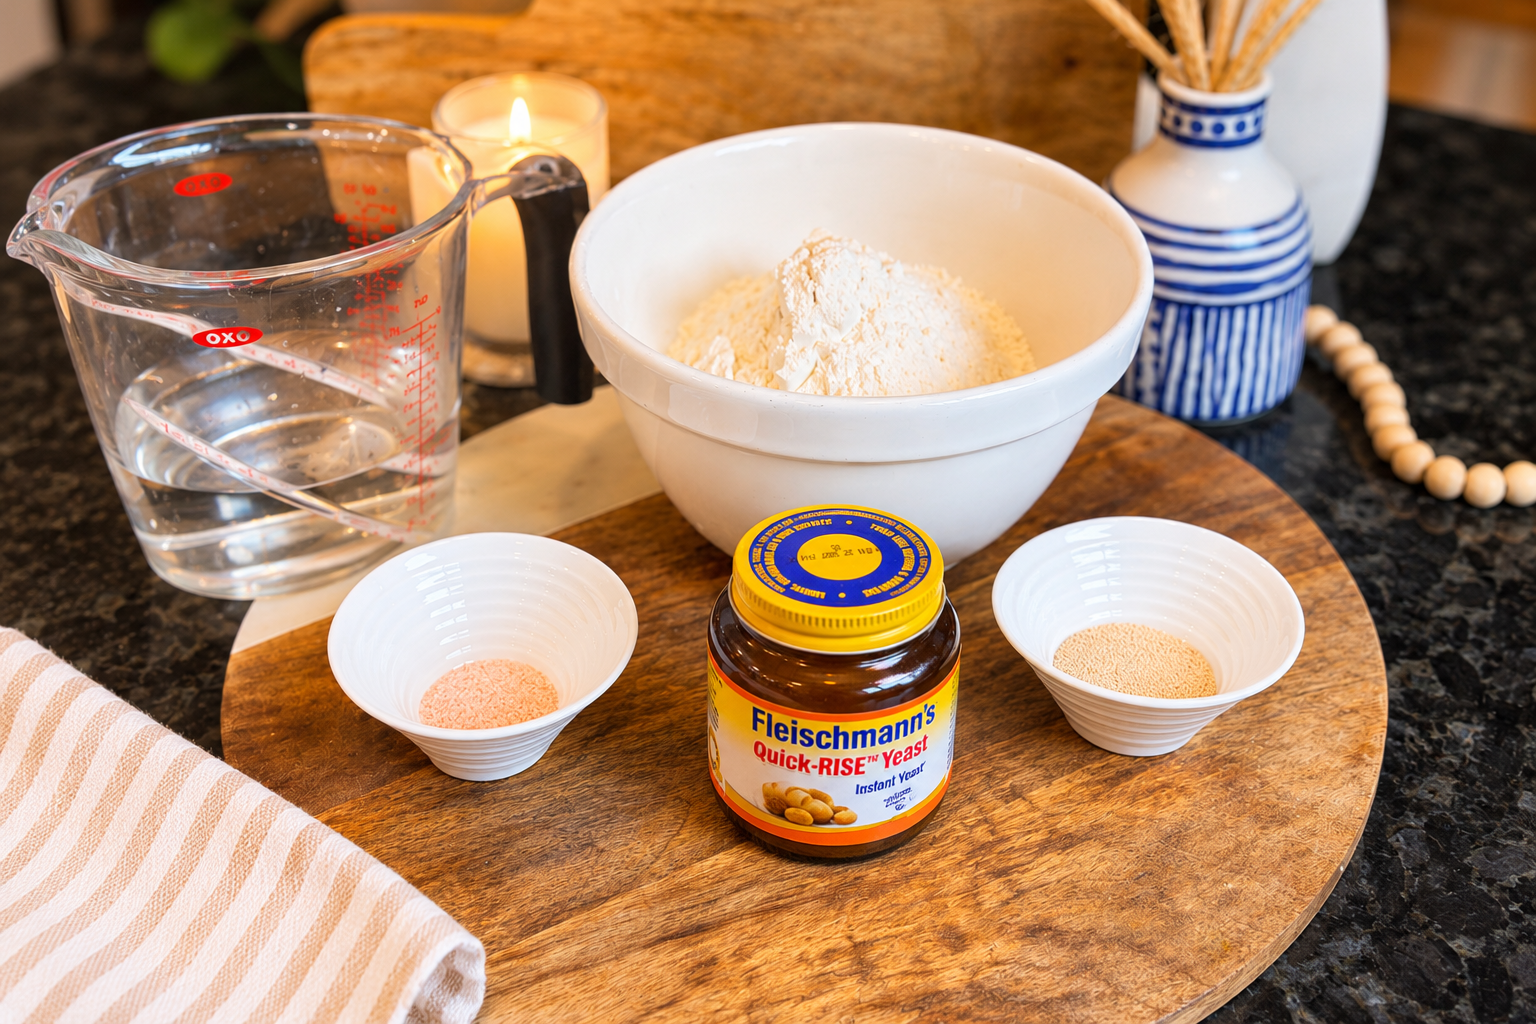
1½ cups warm water (approximately 105–110°F)
2¼ teaspoons active dry yeast (1 standard packet)
1 teaspoon granulated sugar
1½ teaspoons salt
¼ cup honey
3½ cups all-purpose flour or bread flour, divided
How to Make Crusty Dutch Oven Bread
Step 1: Activate the Yeast
In a measuring cup or small bowl, combine the warm water, active dry yeast, and granulated sugar.
Stir gently and allow the mixture to rest for approximately 5–10 minutes, until foamy. This indicates that the yeast is active and ready to use.
Step 2: Combine the Wet Ingredients
Transfer the yeast mixture to a large mixing bowl. Add the salt and honey, stirring until combined.
Step 3: Add the Flour
Gradually add 3 cups of flour, mixing with a sturdy spatula or your hands until a shaggy, sticky dough begins to form.
The dough will initially be quite wet, which is normal.
Step 4: Form the Dough
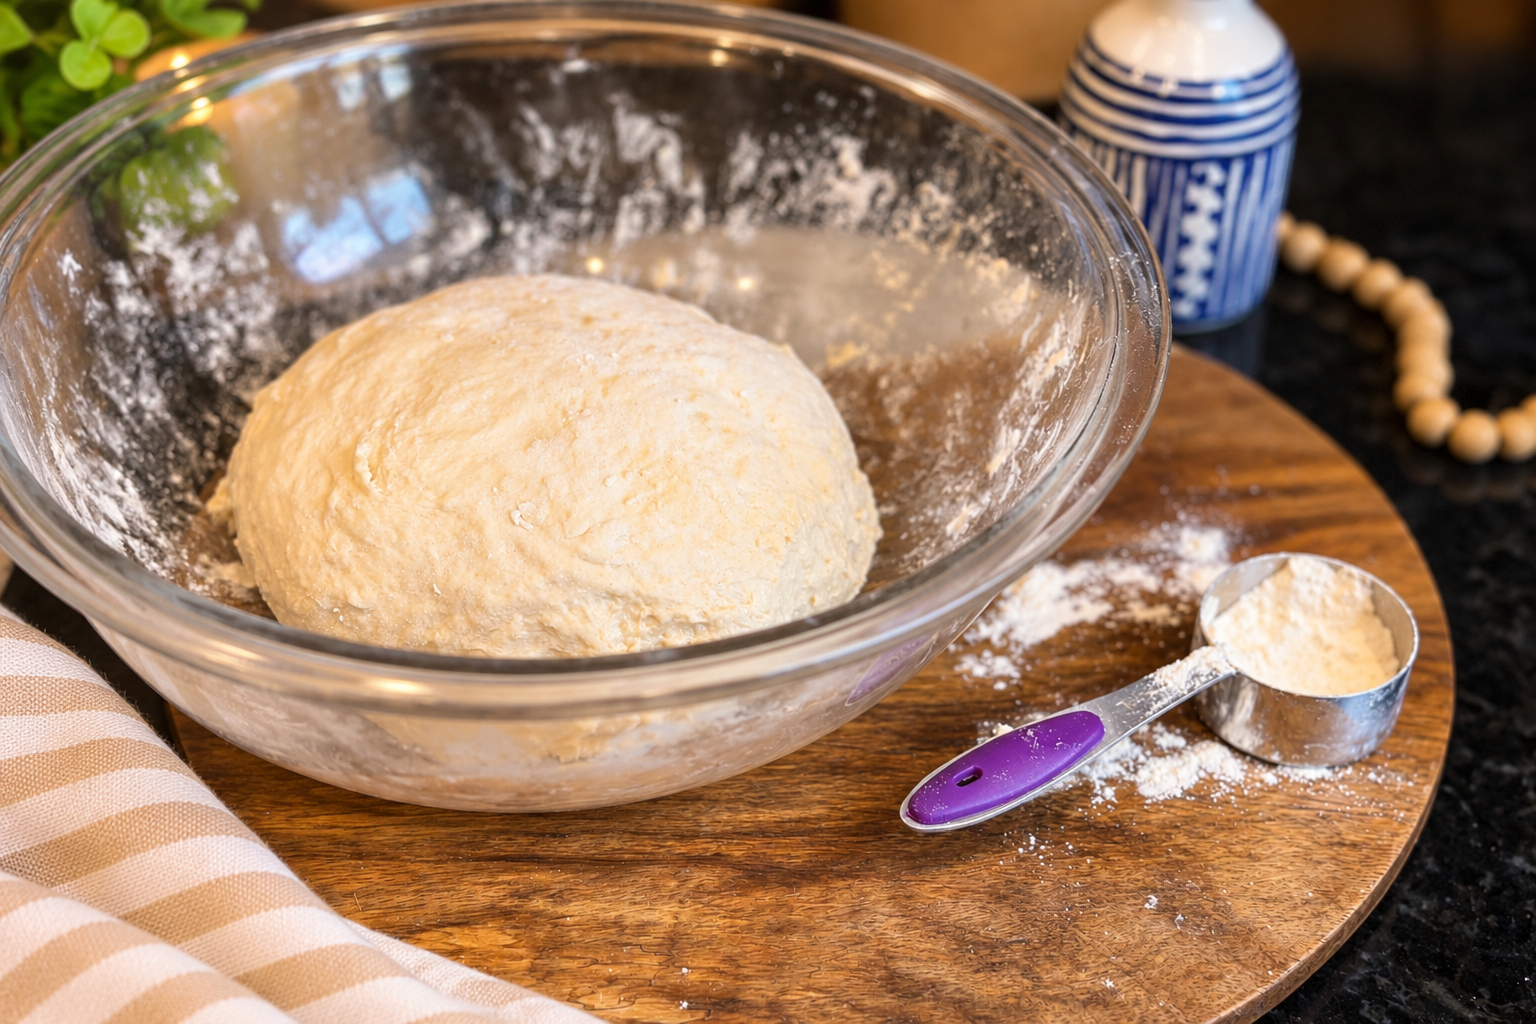
Add the remaining ½ cup of flour gradually, mixing until the dough comes together into a soft, slightly sticky ball.
You may not need the entire remaining amount, depending on the flour used and the consistency of the dough.
Avoid adding too much flour, as this can produce a dense, dry loaf.
Step 5: Allow the Dough to Rise
Cover the mixing bowl with a clean tea towel or reusable cover and place it in a warm, draft-free location.
Allow the dough to rise until approximately doubled in size, usually 1–2 hours. Rising time may vary depending on the temperature of your kitchen.
Step 6: Shape the Dough
Once the dough has doubled in size, gently punch it down to release excess air.
Shape the dough into a loose, round ball. It does not need to be perfectly smooth or uniform. A slightly rustic appearance is part of the charm of homemade Dutch oven bread.
Step 7: Prepare the Banneton for the Second Rise
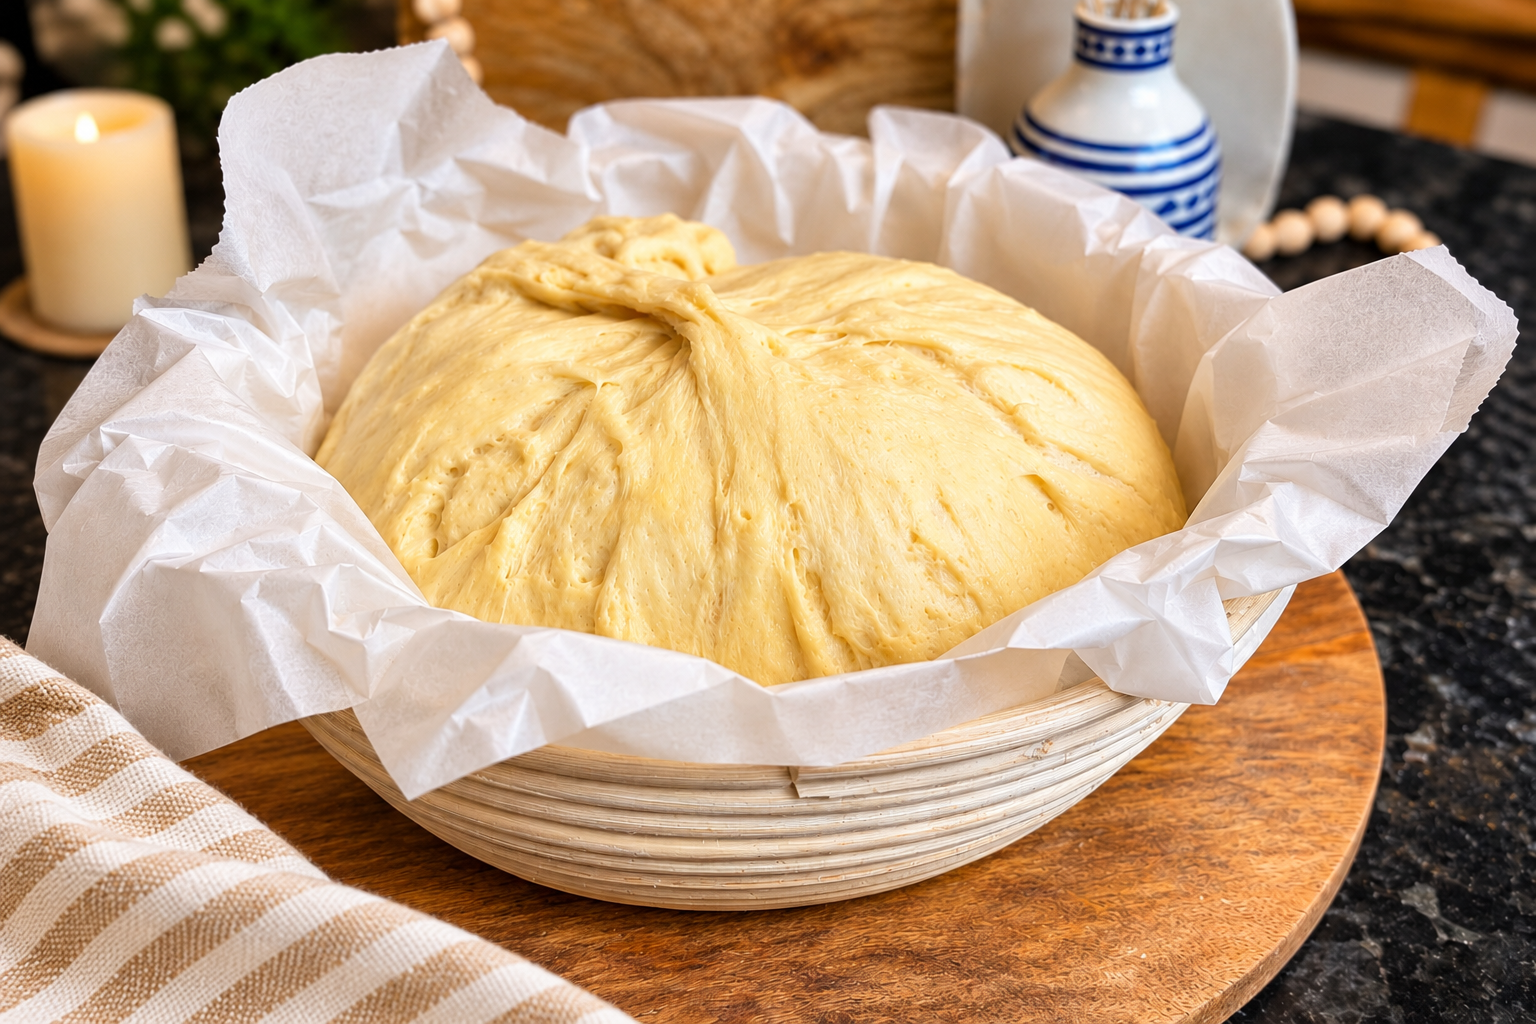
Place the shaped dough onto a large sheet of parchment paper suitable for high-temperature baking.
Carefully lift the parchment paper, with the dough resting on top, and transfer it into a banneton proofing basket.
Cover loosely with a clean tea towel.
The banneton helps support the dough and maintain its round shape during the second rise, while the parchment paper makes transferring it into the Dutch oven easier.
Step 8: Allow the Dough to Rise Again
Let the dough rise for approximately 40 minutes, or until it appears slightly puffy.
During this time, preheat the oven to 450°F (230°C).
Place the empty Dutch oven and its lid inside the oven to preheat for approximately 20–30 minutes. Ensure that both the pot and lid are rated for this temperature.
Step 9: Transfer the Dough to the Dutch Oven
Once the dough has completed its second rise, carefully remove the hot Dutch oven from the oven.
Using the parchment paper as a sling, gently lift the dough out of the banneton and lower it into the preheated Dutch oven.
Take care to avoid touching the hot sides of the pot.
Step 10: Bake Covered
Place the lid on the Dutch oven and bake at 450°F (230°C) for 20 minutes.
The enclosed steam helps the dough expand while encouraging the development of a crisp crust.
Step 11: Finish Baking Uncovered
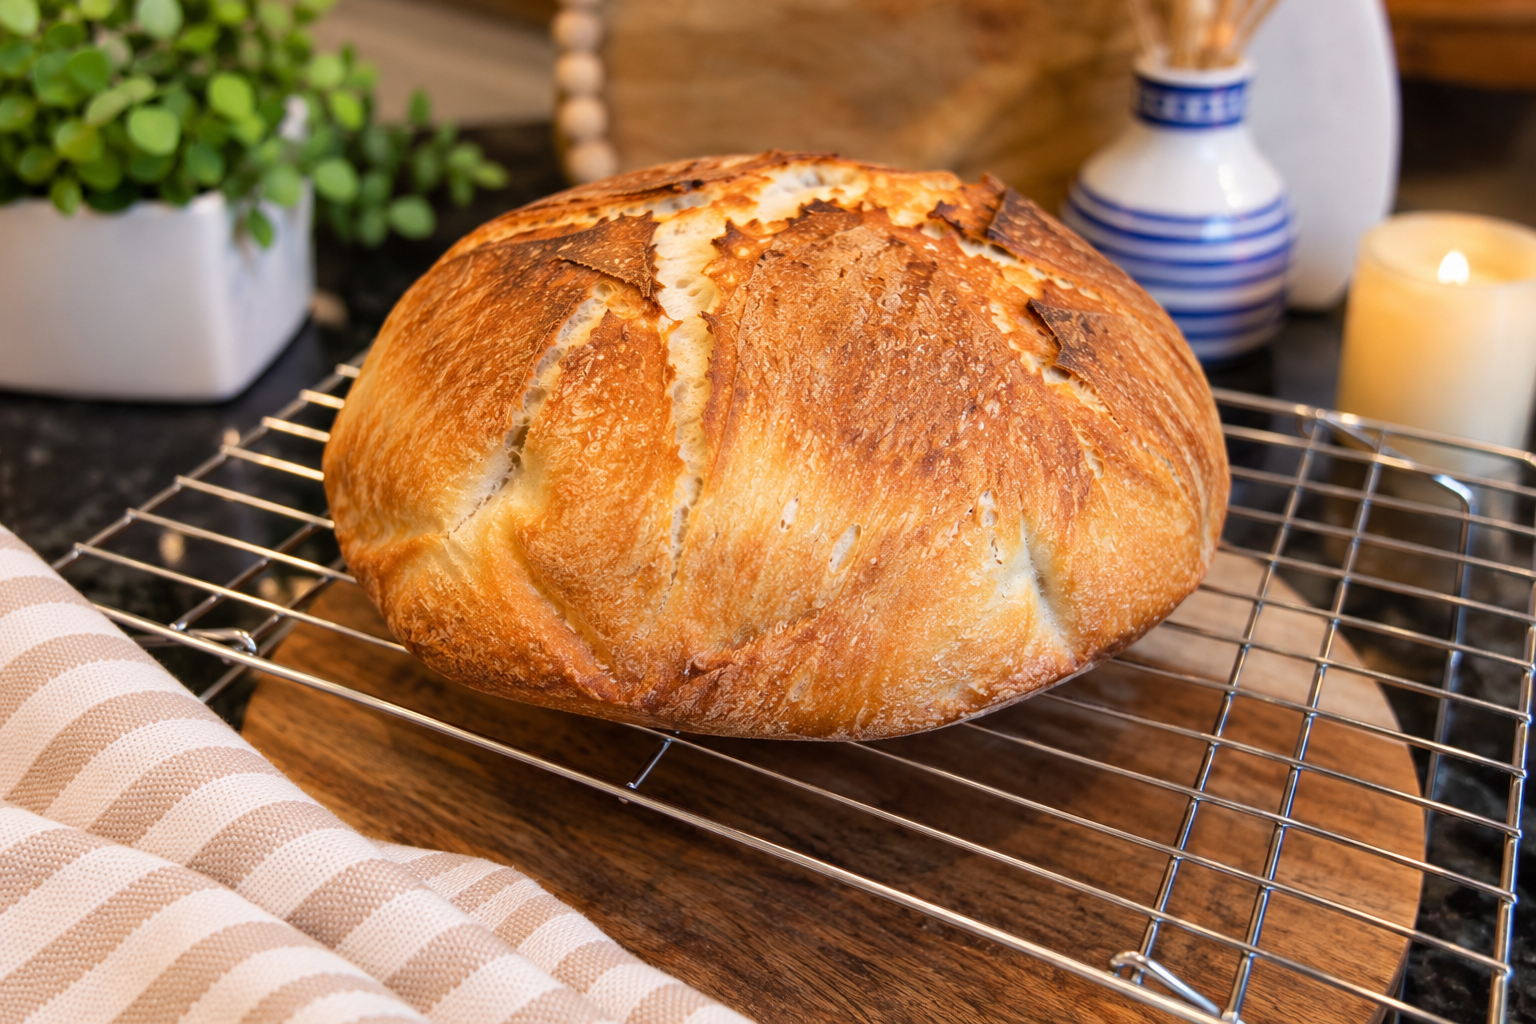
Carefully remove the lid and continue baking for approximately 5 minutes, or until the bread develops a golden-brown crust.
If the loaf requires additional baking time, continue baking uncovered in short intervals until fully baked.
For a more reliable indication of doneness, an instant-read thermometer inserted into the centre should generally register approximately 190–205°F (88–96°C).
Step 12: Cool and Serve
Carefully remove the bread from the Dutch oven and transfer it to a wire cooling rack.
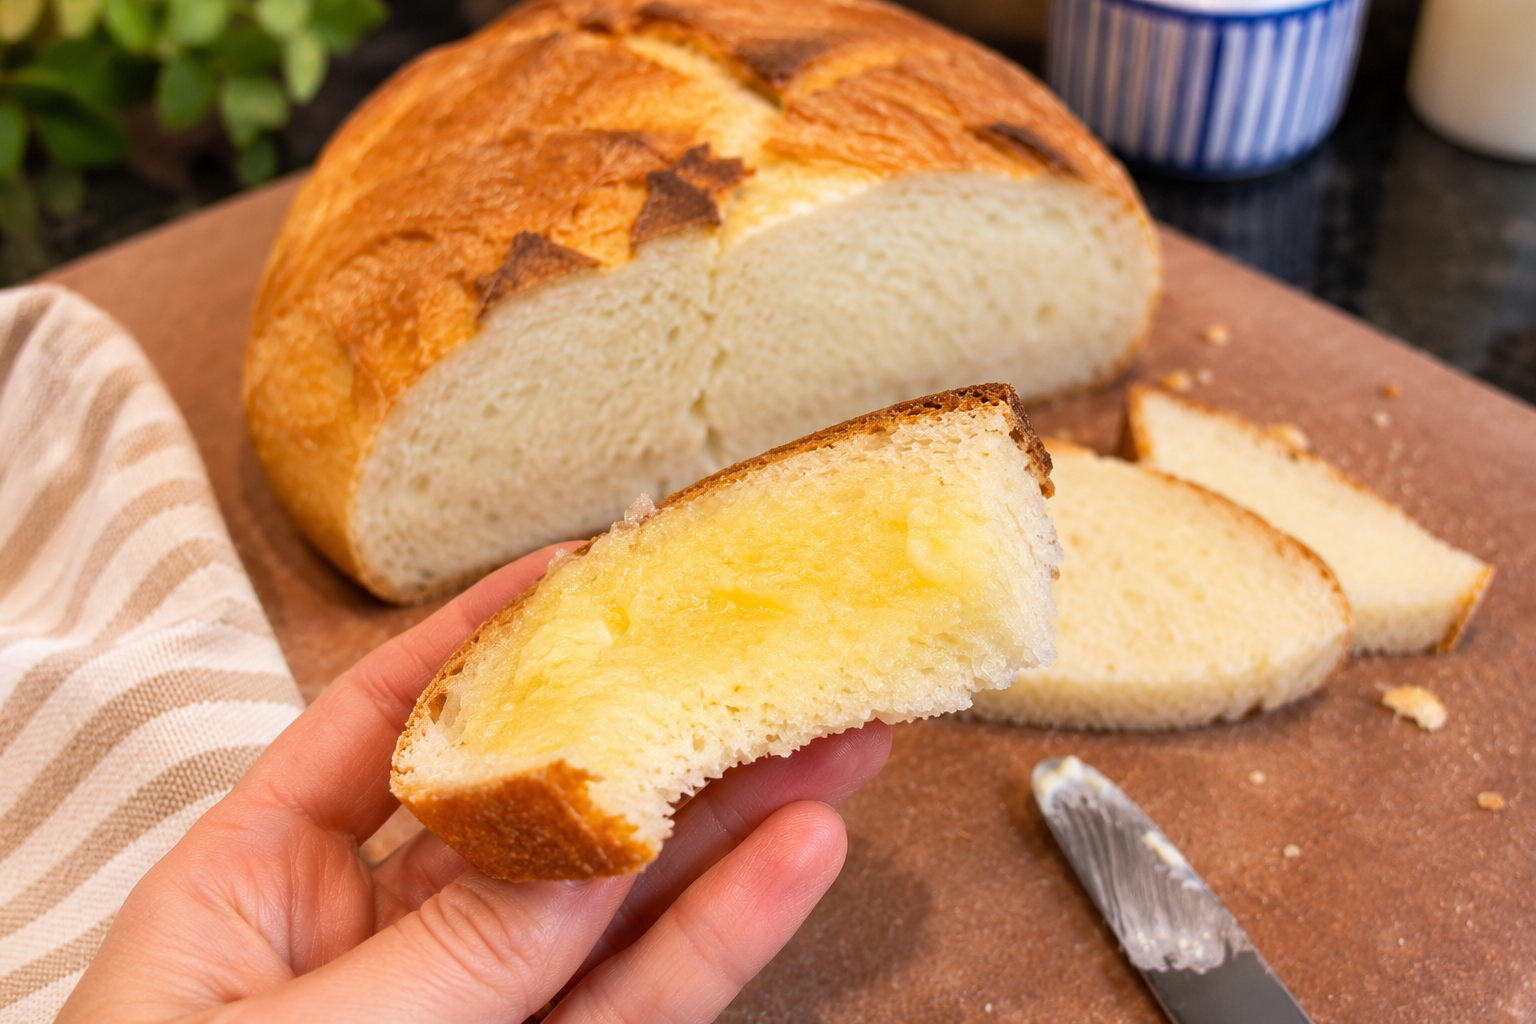
Allow it to cool for at least 30 minutes before slicing. This helps the interior finish setting and prevents the crumb from becoming gummy.
Slice and enjoy with butter, olive oil, or your favourite homemade spread.
Tips for the Best Crusty Dutch Oven Bread
Use Warm Water to Activate the Yeast
The temperature of the water plays an important role in activating the yeast.
For active dry yeast, aim for approximately 105–110°F. Water that is too hot can damage the yeast, while cooler water may slow the activation process.
The yeast mixture should become visibly foamy after approximately 5–10 minutes.
Keep the Dough Soft and Slightly Sticky
This recipe produces a relatively soft dough, and some stickiness is expected.
Resist the temptation to add excessive amounts of flour. The dough should come together into a loose ball while remaining soft and slightly tacky.
Adding too much flour can result in a heavier loaf with a drier interior.
Allow Enough Time for the First Rise
Bread dough rises more quickly in a warm kitchen and more slowly in cooler conditions.
Rather than relying entirely on the clock, look for the dough to approximately double in size before shaping.
Create a Warm Environment for Rising
If your kitchen is cool, you can create a gently warm environment for the dough.
One option is to place the covered bowl inside a turned-off oven with the oven light on, provided the temperature remains comfortably warm rather than hot.
Alternatively, briefly warm the oven, turn it off completely, and allow it to cool to a suitable proofing temperature before placing the dough inside.
Never leave the oven heating while the dough is rising.
Use a Banneton for the Second Rise
A banneton proofing basket provides support as the dough rises, helping it maintain a rounded shape.
For this recipe, the dough is placed on parchment paper before being transferred into the banneton. This makes it easy to lift the risen dough directly into the preheated Dutch oven without disturbing its shape.
Preheat the Dutch Oven Thoroughly
Preheating the Dutch oven creates a hot baking environment that encourages oven spring and helps develop the bread's rustic crust.
Allow the Dutch oven to heat for approximately 20–30 minutes before transferring the dough.
Always use oven mitts when handling the pot and lid, as they will be extremely hot.
Check Your Parchment Paper
Not all parchment paper is rated for baking at 450°F.
Check the manufacturer's maximum recommended temperature before using it. If your parchment paper is not rated for 450°F, use a suitable high-temperature alternative or an appropriate transfer method.
Check the Bread for Doneness
Because Dutch ovens vary in size, material, and heat retention, baking times may differ.
The bread should have a firm, golden crust and a fully baked centre.
If the crust has browned but the centre needs additional baking time, loosely tent the loaf with aluminum foil and continue baking until done.
Allow the Bread to Cool Before Slicing
Fresh bread continues to set as it cools.
Allowing the loaf to rest for at least 30 minutes helps prevent a gummy or compressed interior and makes slicing easier.
Ingredient Substitutions and Variations
All-Purpose Flour or Bread Flour
Both all-purpose flour and bread flour can be used in this recipe.
All-purpose flour generally produces a softer, more tender crumb.
Bread flour contains more protein, which can contribute to a chewier texture and stronger dough structure.
The amount of flour required may vary slightly depending on the type and brand used.
Reduce the Sweetness
If you prefer bread with a less noticeable sweetness, reduce the honey to 1–2 tablespoons.
Honey contributes moisture, flavour, and browning, so reducing the amount may slightly change the finished crust and texture.
Fresh Rosemary or Thyme
For a savoury variation, add 1–2 tablespoons of finely chopped fresh rosemary or thyme when combining the dough ingredients.
Fresh herbs add an aromatic flavour that pairs especially well with soups, stews, and roasted vegetables.
Garlic and Herb Dutch Oven Bread
For a savoury loaf, add ½–1 teaspoon of garlic powder and 1–2 teaspoons of dried Italian herbs to the flour before mixing.
This variation is delicious served warm with butter or dipped into olive oil.
Add Seeds for Extra Texture
For additional flavour and texture, try adding 1–2 tablespoons of sesame seeds, sunflower seeds, or pumpkin seeds to the dough.
Seeds can also be sprinkled over the surface before baking, although exposed seeds may brown quickly at higher oven temperatures.
Note: These substitutions and variations are suggested options and may require minor adjustments to the dough consistency or baking time.
Frequently Asked Questions
Do I Need a Stand Mixer to Make Dutch Oven Bread?
No. This recipe can be prepared entirely by hand using a sturdy spatula or your hands.
The dough comes together without a stand mixer, making it a convenient option for home bakers.
Do I Need to Knead the Dough?
This recipe does not require traditional, extended kneading.
Mix the ingredients until the dough comes together, then allow the dough to rise before gently shaping it into a round loaf.
What Is a Banneton, and Do I Need One?
A banneton is a proofing basket used to support bread dough during its final rise.
Although helpful for maintaining the loaf's shape, a banneton is not essential. A suitably sized bowl lined with a clean, well-floured tea towel can also support the dough during proofing.
If using a towel-lined bowl, take care to prevent sticking and transfer the dough gently.
Can I Make This Bread Without a Dutch Oven?
A Dutch oven is recommended because its covered environment traps steam and helps develop a crisp crust.
Other oven-safe covered baking vessels may work, provided they are suitable for high-temperature baking. However, the crust and baking time may differ.
Why Didn't My Bread Rise?
Several factors can affect yeast activity and dough rising, including:
Inactive or expired yeast
Water that was too hot
A kitchen that was too cool
Insufficient rising time
Make sure the yeast becomes foamy during activation and allow the dough enough time to rise before shaping.
Why Is My Dutch Oven Bread Dense?
Dense bread can result from adding too much flour, insufficient rising time, or inactive yeast.
For the best results, keep the dough soft and slightly sticky and allow it to approximately double in size during the first rise.
How Do I Know When My Bread Is Fully Baked?
The loaf should have a golden-brown crust and a firm exterior.
For greater accuracy, insert an instant-read thermometer into the centre. A finished loaf will generally register approximately 190–205°F.
If the bread requires additional time, return it to the oven and continue baking until done.
Can I Prepare the Dough Ahead of Time?
Yes. For an overnight variation, the dough can be refrigerated in a covered container after its initial rise.
Refrigeration slows yeast activity and allows flavour to develop. The dough may require additional time to warm and rise before baking.
Because this method changes the fermentation schedule, the timing should be adjusted according to the dough's appearance rather than following the original rising times exactly.
How Should I Store Homemade Dutch Oven Bread?
Allow the bread to cool completely before storing.
Keep it in a bread bag or loosely wrapped at room temperature for approximately 2–3 days.
Avoid sealing warm bread in an airtight container, as trapped moisture can soften the crust.
Can I Freeze Dutch Oven Bread?
Yes. Once completely cooled, slice the bread or leave the loaf whole.
Wrap it tightly and place it in a freezer-safe bag or container. Freeze for up to 3 months.
Thaw at room temperature before serving, or toast individual slices directly from frozen.
How Can I Make the Crust Crispy Again?
To refresh the crust, place the bread in a preheated 350°F oven for approximately 5–10 minutes, or until warmed through and crisp.
Individual slices can also be toasted.
Serving Suggestions
This homemade Crusty Dutch Oven Bread is delicious served slightly warm with butter, honey butter, or a drizzle of good-quality olive oil.
Its crisp exterior and soft interior make it particularly well suited for dipping into homemade soups and hearty stews.
For breakfast, toast a thick slice and serve it with butter, jam, or honey.
The bread also works beautifully for sandwiches, grilled cheese, garlic toast, and homemade croutons.
Whether served fresh from the oven or toasted the following day, this simple homemade loaf is a versatile addition to everyday meals.